Good install depends not only on high quality film, but also on the right tools, proper cutting, careful heating, and correct care after wrap. In this guide, discover key tips and steps for a smooth, professional-looking car wrap installation from start to finish.
Car Body Cleaning Tools
- Car wash shampoo, sponge, towel
- Clay bar / magic clay
- Alcohol or degreaser (IPA 70%–99%)
- Adhesive remover (for old glue marks)
- Air blower, dust-removing cloth
- Spray bottle (for water lubrication)

Car Wrap Installation Tools
Squeegee Tools
- Soft squeegee: remove water and air, Fit to car body curves and transitions, prevent scratching the film.
- Hard squeegee: remove water and air on large flat area, strengthens adhesion on edges and corners,handle concave shapes and folds on complex designs.
- Felt squeegee: protects the film, preventing scratches or pressure marks. Removes small bubbles or water streaks, making the film surface smooth and even.

Heating Tools
Heat gun: softens the film for easier stretching, removes film memory shrinkage, and helps edges and corners adhere better.
Portable thermometer: controls heat gun temperature and precisely heats edges and details.
Cutting Tools
- Utility knife (30° pointed blade): makes holes and trims car film. The film fine carving and adjustment, assisting with edge work.
- Plastic safety knife: used for edge cutting and work on curves and grooves. Prevents sharp blades from scratching the paint.
- Film cutting line: used for precise cutting of the film.
- Small scissors: trim excess film, handle complex areas, make holes, and fine adjustments.

Installation Assistant Tools
- Wrap glove: Smooth slide and scratch protection
- Water squeegee: Used to push out water and bubble
- Soft magnet: Used to hold the film and stop position shift
- Tape measure: Used to measure film need for each part of the car

Detail tools
- Corner tool: Makes round corner that does not lift easily
- Narrow seam presser: Works for small area like door handle and door gap
- Edge presser: Helps edge wrap stay firm
- Edge sealer: Raises edge durability
- Wrap marker pen: Used for marking

Environment Need
- Closed, dust-free space: Stops dust, sand, and insect from entering the work area
- 20–28°C temperature: Low temperature makes the film hard and hard to work; high temperature makes the adhesive too soft and easy to stretch and deform
- Bright white light: Helps check film flaw, wrinkle, and cutting accuracy
Car Body Cleaning Point
- Use neutral car wash to remove mud, dust, and oil fully. After washing, rinse with clean water to clear all foam and stop residue from hurting the film bond.
- If the body has bug stain, tree sap, or oxidation, use tar cleaner, bug cleaner, or clay glove. Clean with light action to avoid scratching the paint.
- Before wrapping, the surface must be fully dry. Use a blower to dry door gap, seam, and area around the light to stop edge lift or bubble.
Step 1:Cutting Film step
Measure the size of the work area
Use a tape measure to check film need for each side (length * width). When cutting, keep 5–10 cm extra. For curved or 3D area, keep 10–15 cm extra.
Place and position the film
Open a small part of the backing and fix the film with magnet or hand, then slowly peel the backing. Pull and lay the film flat on the car body. Make the film sit roughly in place. Do not squeegee; only position it.
Rough trim along the outer contour
After the film covers the body, hold the blade at a 15°–30° angle. Rest the blade tip on the film—do not touch the paint. Trim off excess about 3–5 cm from the edge. For curves, bumps, or rounded areas, use short-blade cuts and move the knife slowly.

Step 2: Stretch and Apply
- Set the heat gun to medium heat (60–80°C). Give the film light heat (do not over 90°C) to make it soft and elastic.
- After heating, pull the film with steady and even force, in an outward and angled direction.
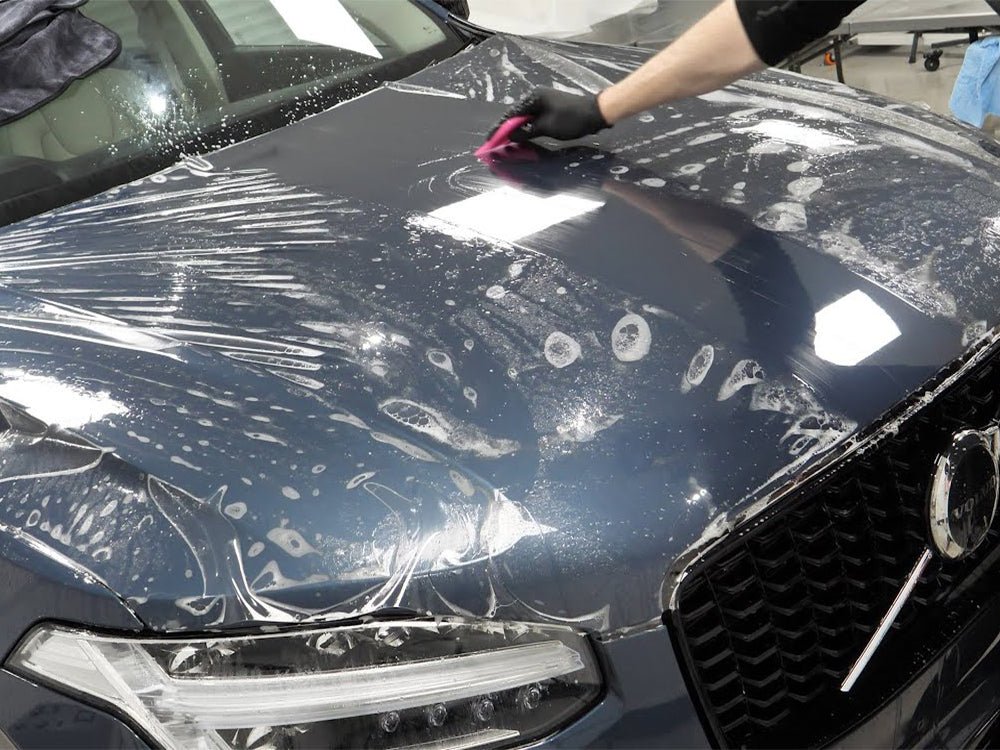
Step 3:Apply and de-air
- Keep the squeegee at a 45°–60° angle. Start from the center and push out to the outside. Move slowly to make sure each pass pushes out air and leaves no water bubble or air bubble.
- For sharp bend or deep recess, give light heat. Press the shape with the palm, then use the squeegee to push it tight.

Step 4:Detail Cutting
- Gap cutting: Keep the blade parallel to the paint. Slide the blade lightly into the body gap. The blade tip cuts only the film, not the metal under it.
- Edge cutting: Hold the blade at a 10°–20° angle. Let the blade slide along the edge with light touch. Keep the cut smooth, even, and without stop.
- Edge wrap cutting: Push the film into the fold first and keep 0.5–1 cm for wrapping. Heat to 60–80°C to soften the film, then use squeegee or finger to push it inside the fold.
- U-shape / V-shape cut: Heat the area and let the film fit the shape fully. At the deepest corner, cut a small V or U cut. Pull the film again and let both sides overlap naturally. Trim off the extra part and use heat gun to set the shape again.

Step 5:Bubble and Wrinkle Fix
- Small bubble: Use a needle to make a small hole and press the air out gently.
- Big bubble: Heat the area and squeegee again.
- Wrinkle: Heat and lift the film, then redo it. Do not force it with the squeegee.
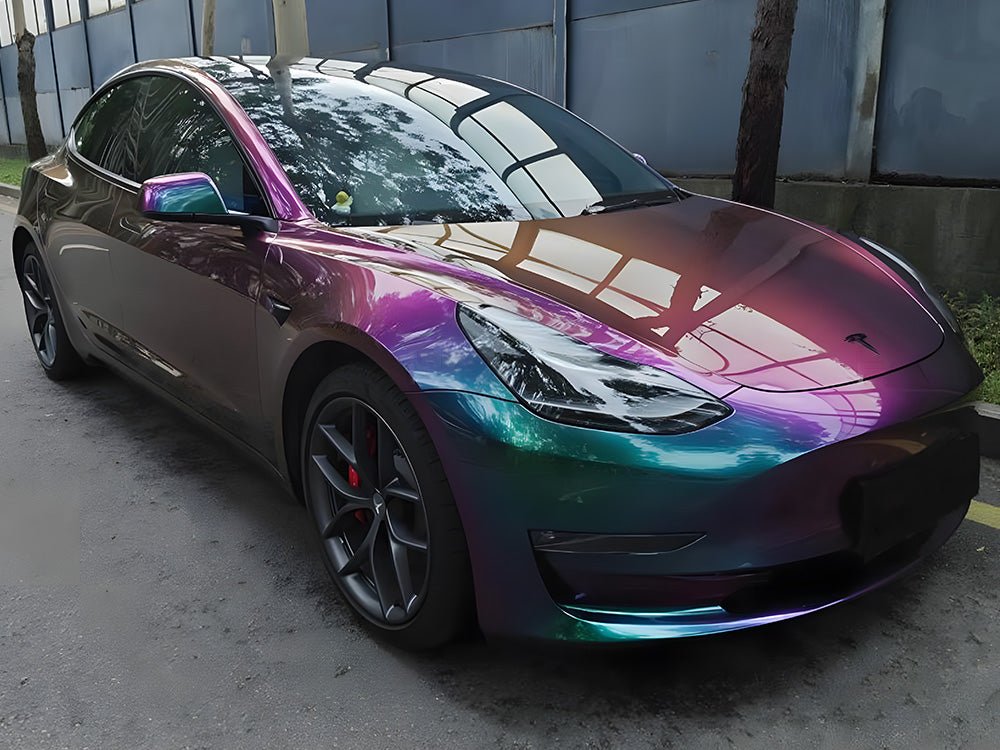
Step 6:Full check
- Check if the color and gloss are even, and if there is any large wrinkle, pit mark, fingerprint, or scratch.
- Check the surface for bubble, silver line, or orange peel / haze texture.
- Slide fingernail lightly along the edge to see if the edge is 100% wrapped inside the fold.
- Check if all seam cuts are straight, clean, and without rough edge or jagged cut.

Car Wrap Care Step
0–48 hours after wrapping (very important!)
- No car wash, no high speed drive
- Do not touch the edge
- Avoid rain, strong wind, and strong sun
- Do not rub the film hard with a towel
Within 1 week after wrapping
- Wash the car only after 1 week, and use hand wash only
- Avoid alcohol, strong cleaner, or strong acid or alkali wash
- Do not pull the edge hard
- Check for new edge lift. If it appears, use light heat and press it tight again
Long Term Care
- Dust hurts the film surface, so wash every 2–3 weeks
- Heat speeds film aging and oxidation; avoid long sun exposure when parking
- Resin and bird drop are acidic and can corrode the film; do not let them stay long
- Avoid contact with gas, engine oil, or brake oil; these solvent damage the film coating

Conclusion
Clean, professional car wrap finish depends on careful preparation, correct tools, and proper installation steps. From cleaning the body and positioning the film to heating, cutting, and final check, every detail affects how smooth the wrap looks and how long it last. With the right method and regular care, the film stay tight, clean, and durable, giving the car fresh and long lasting appearance.
carlikewrap
Carlike is a professional car wrap maker in China. It offers sample, OEM, and ODM service for global wholesale partner. The Carlike factory makes over 30 series and 1500+ color of vinyl, with strong stock and wide choice. After payment, the partner gets shipment in 48 hours (by sea or air). Contact me to get factory direct price.
FAQ
Why is surface cleaning so important before wrapping?
Any dust, oil, or moisture reduces adhesion. A clean and fully dry surface helps the film stick firm and prevents bubbles or edge lift later.
What heat level should be used during installation?
Most vinyl works best at 60–80°C. This softens the film, removes memory, and helps it fit curves. Overheating above 90°C may damage the film.
How do I avoid bubbles and wrinkles?
Start squeegeeing from the center, work outward, and move slowly. Use light heat for deep curves. If wrinkles appear, lift the film, heat slightly, and redo.