Table of contents
You have decided it's time to tear off your vinyl wrap. If you wanna to change a new color for your car or wanna the car to be a original paint color again. Maybe you will worry about scratching the paint.I had the same worries the first time I did this.
Removing a vinyl wrap is a project you can absolutely tackle yourself if you have the right knowledge. I’ve learned through experience that the secret isn’t just strength; it’s all about technique, the right tools, and a whole lot of patience.
For the Reader Planning a Project (Directing to Your Shop)
For the Hesitant or Less Confident Reader (Building Trust)
For the DIY Enthusiast (Encouraging Engagement)

Why Proper Vinyl Wrap Removal Matters for Your Paint
I want to start by stressing why you cannot just rush this process. The goal is to reveal the perfect, unharmed paint hiding underneath. When you pull a vinyl wrap off incorrectly, you risk two big problems. First, you can leave behind a ton of stubborn adhesive glue. Second, and much worse, you can actually chip or crack the clear coat on your paint. This will cost too much for repair. Doing it the right way can save you time, money, and trouble
Essential Tools You Need for Vinyl Wrap Removal
You don’t need a garage full of fancy equipment, but having the right few tools makes the job incredibly easier and safer. I never start a removal without my core kit.
- Heat Gun or Powerful Hairdryer: This is the most important tool.The heat gun will soften the glue, allowing the vinyl wrap to tear off smoothly.
- Plastic Blades for car wrapping: These are crucial for lifting the initial edge without scratching the paint like a metal tool would.
- Adhesive Remover : A mix of water and a few drops of isopropyl alcohol works well for dealing with leftover glue.
- Soft fiber Towels: You'll need plenty of these for cleaning and wiping.
If you prepar these tools ready will turn a frustrating job into a smooth process.
Finding the Perfect Spot and Weather for Vinyl Wrap Removal
Where and when you work is almost as important as how you do it. I always recommend working in a shaded area, like a garage. Direct sunlight can make the vinyl tricky to handle.You can try to pick a warm and a dry day for this job. I've found the perfect temperature is between 70 and 80 degrees Fahrenheit (21 to 27 Celsius).The warmth helps the vinyl wrap become flexible. Never attempt this in cold weather. When it's cold, the vinyl becomes brittle and is much more likely to tear into small pieces.
Step 1: Starting the Peel - How to Find an Edge
This is where the real work begins. The first step is to create a small tab to start pulling from. You can find a spot for the vinyl wrap naturally ends, which is like around a door handle or the edge of a panel. If the vinyl wrap is perfectly smooth, pls use the plastic blade to gently lift a corner. Be patient here. The key is to be slow and careful to avoid digging into the paint. Once I’ve lifted a small corner, I use my fingers to gently roll it back. This initial edge is your starting point for the entire panel.
The Right Way to Pull and Stretch the Vinyl Wrap
Now for the most critical technique. You do not just yank the vinyl wrap straight up. The right way to pull is to go slow and keep the low angle. Pull it back at a shallow angle, close to the car's surface. While you pull with one hand, use your other hand to heat the area just ahead of the peel line. Keep the heat gun a few inches away. Warming the adhesive before the vinyl wrap gets there is the secret to a clean release. If it starts to resist, apply more heat and slow down.
Dealing with Stubborn Vinyl Wrap and Strong Adhesive
Even with perfect technique, you will hit stubborn spots. This is normal on curves or with old vinyl. If the vinyl wrap tears, don’t try to force it. I stop, reheat the area well, and use my plastic razor blade to gently lift a new edge right next to the tear. For strong adhesive that won’t let go, I apply more heat directly to the spot for a longer time. The goal is to warm the adhesive through the vinyl without overheating the paint.
How to Remove Leftover Vinyl Wrap Glue from Your Car
Once the vinyl is off, you’ll likely have a sticky, gluey mess. I generously spray the adhesive remover onto the glue and let it sit for 30-60 seconds to break down the residue. Then, using a clean microfiber towel, I wipe the area in a circular motion. The glue should start to ball up. For larger areas, I use the "bag trick": I put my hand inside a plastic sandwich bag and wipe the glue. This trick can get the glue to ball up. You may need to do it two or three times until the paint surface completely smooth.

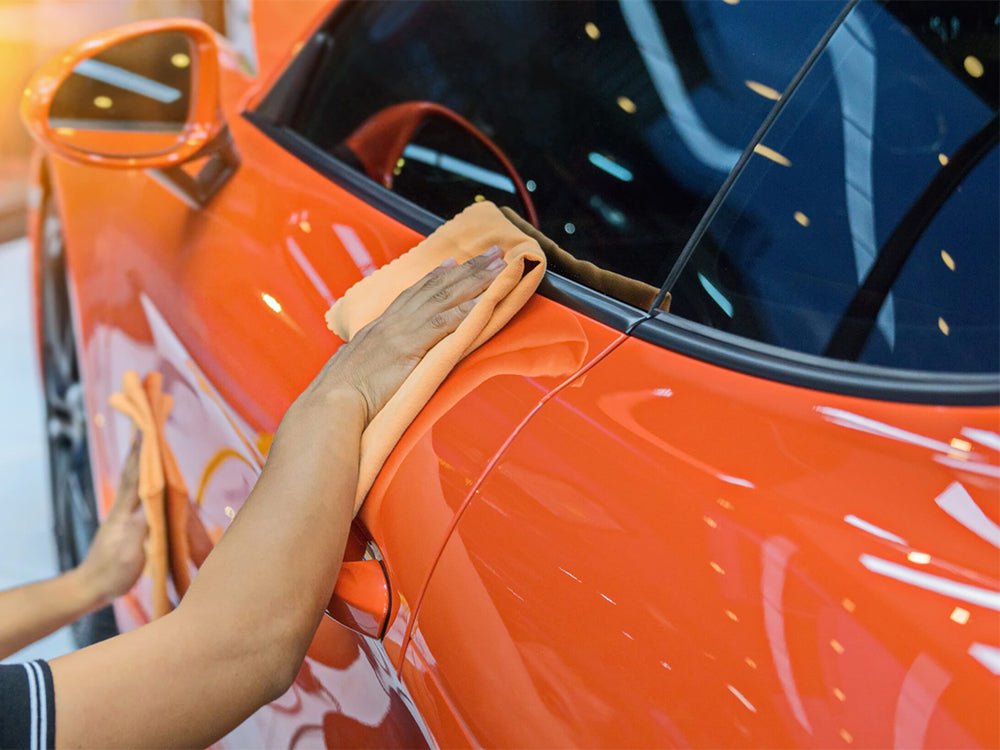
A Simple Guide to Cleaning After Vinyl Wrap Removal
After the glue is gone, your car’s paint will need some love. The protected paint might look different from the rest of the car. I will wash with car shampoo for a whole car. Once the car is totally dry, I use a light car polish to do a whole car paint. This takes out any small marks and brings back the shine.
Common Vinyl Wrap Removal Mistakes You Must Avoid
Let me save you from common errors. The biggest mistake is using too much heat, which can damage the paint. The second mistake is pulling at too high of an angle, which increases the risk of tearing. The third mistake is using metallic squeegee, as they will scratch your paint.
When to Call a Professional for Your Vinyl Wrap Removal
While I’m a big believer in DIY, I also know when a job is better left to the experts. If your vinyl wrap is very old, has been badly cracked by the sun, or if you’ve started and run into major issues, stop and call a local car wrapping shop. They have the experience to handle difficult removals safely. The cost of a professional removal is often more lesser than the cost of repairing a damaged car paint
Taking off a vinyl wrap by yourself can be a really rewarding job and don't rush. If you follow the steps we talked about—being patient, using heat the right way, and cleaning up well that you can strip off the old wrap and find a perfect surface ready for whatever's next. Maybe you're planning a new style or just want your car's original paint back. Either way, you've got this.

Q1: Can I remove a vinyl wrap by just peeling it off without heat?
I strongly advise against this. While you might get lucky on a very warm day, removing vinyl wrap without heat is the most common way to cause damage. The adhesive will be too strong, and the vinyl wrap is likely to tear into small pieces, leaving behind a huge amount of stubborn glue. Using heat is the key to a smooth, clean removal.
Q2: Will removing a vinyl wrap damage my car's original paint?
If you follow the correct steps—using low heat, pulling at a low angle, and being patient—you should not damage the factory paint. The real risk to the paint comes from rushing, using metal tools, or overheating a single spot. A professionally applied vinyl wrap over healthy factory paint is designed to be removed safely.
Q3: My vinyl wrap is tearing into tiny pieces. What am I doing wrong?
This usually means one of two things: either the vinyl wrap is very old and has become brittle, or you aren't using enough heat. Try applying more consistent, low heat directly to the area you are trying to peel. If it's still shattering, the vinyl wrap may be past its lifespan, and you might need to use an adhesive remover as you go to help soften the glue.
Q4: How long does it take to remove a vinyl wrap from an entire car?
This depends on the size of the car, the age of the vinyl wrap, and your experience. For a first-timer, a full car removal can easily take a full day or even two. It's not a job to rush. Setting aside a weekend will ensure you have enough time to work carefully without feeling pressured.