Choosing the Right Camouflage Design: A Guide for Car Enthusiasts
Camouflage car wraps offer an exciting and unique way to transform your vehicle's appearance, giving it a striking and adventurous look. However, with a plethora of camouflage patterns available, it can be challenging to select the perfect design that complements your car and reflects your personal style. In this guide, we'll walk you through essential factors to consider when choosing the right camouflage design for your car.
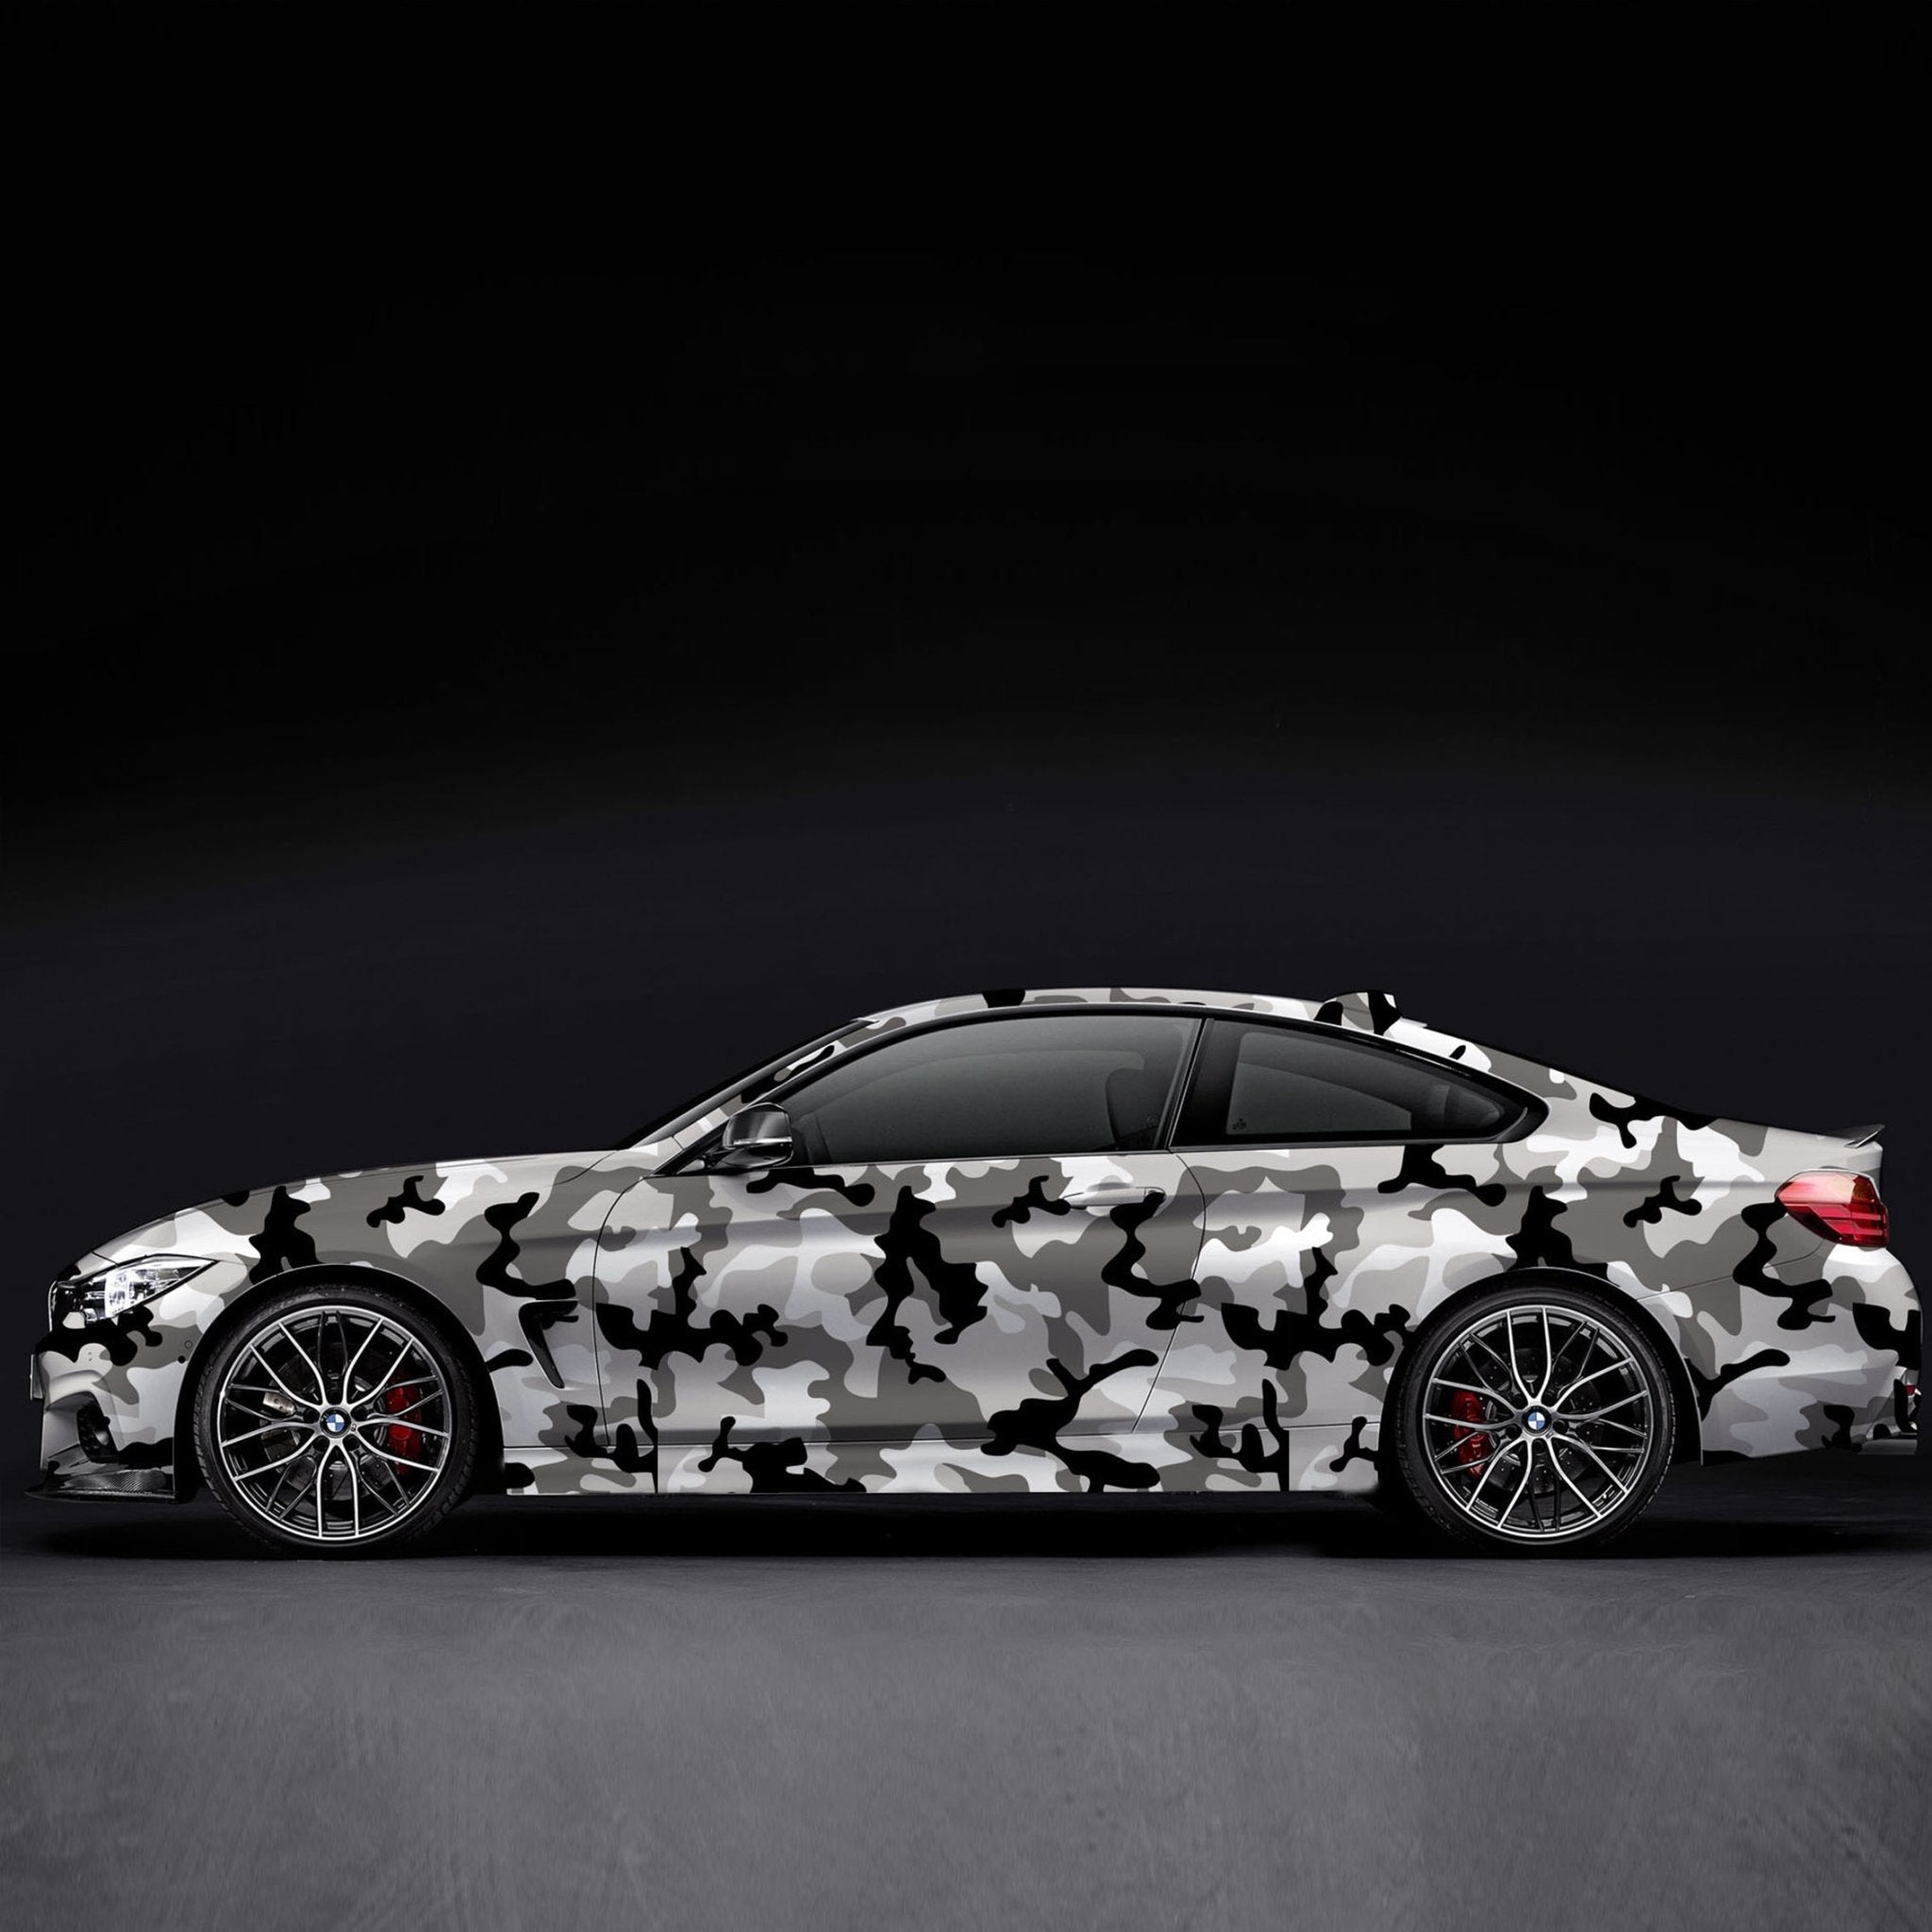
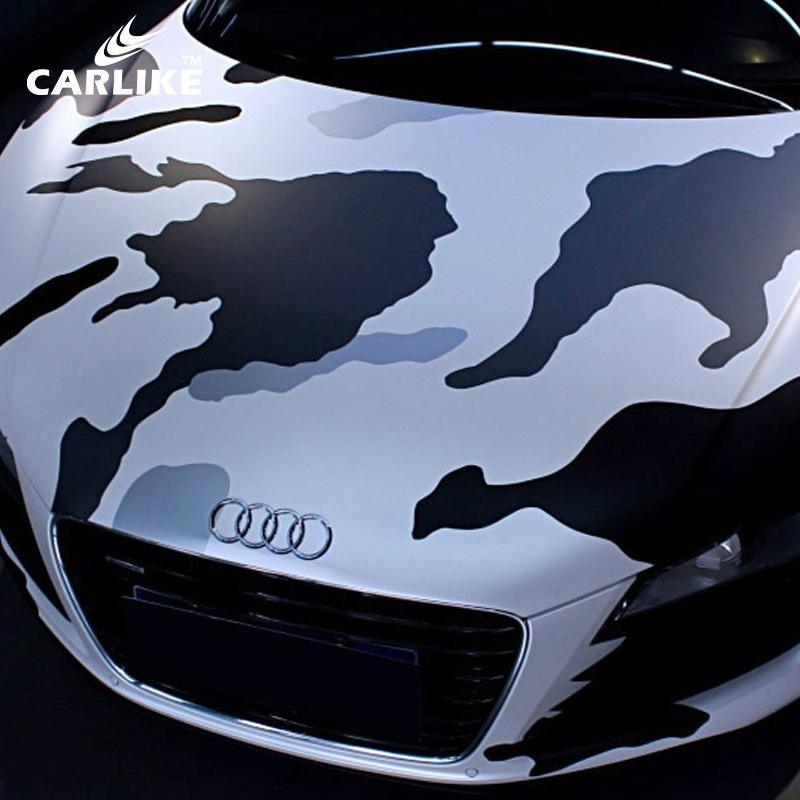
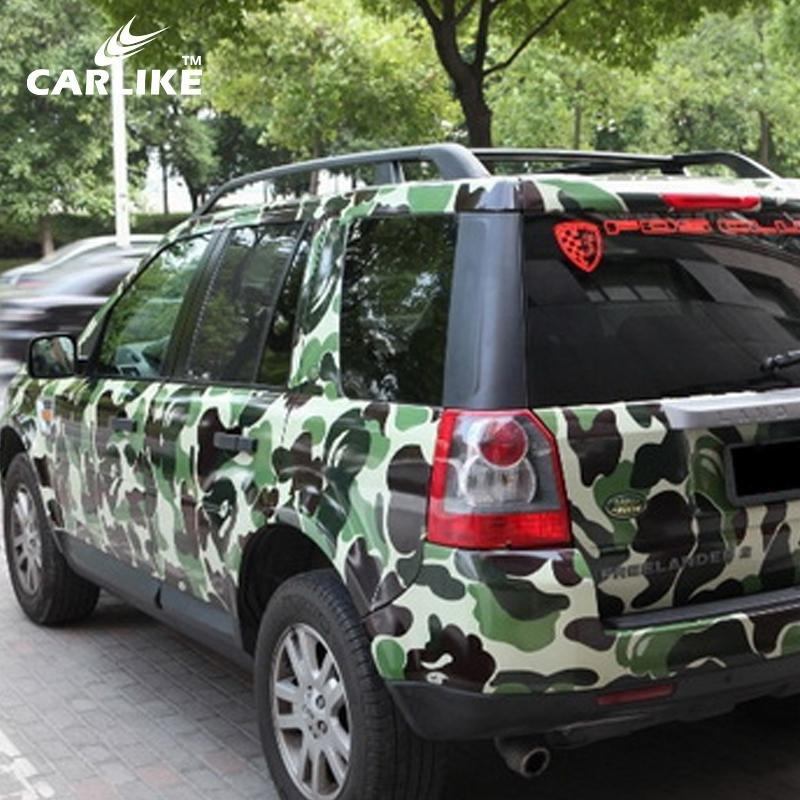
1. Understand Your Preferences: Begin by understanding your personal preferences and the look you want to achieve. Do you prefer a classic military-style camo, a bold digital pattern, or a more subtle woodland design? Determine the overall vibe you want your car to exude, whether it's rugged and adventurous or sleek and modern.
2. Match the Car's Personality: Every vehicle has its own personality. Consider your car's make, model, and color. Certain camouflage designs may blend harmoniously with specific car types, while others may create a striking contrast. The goal is to find a design that complements your car's existing features and enhances its overall aesthetics.
3. Evaluate the Surroundings: Think about where you primarily drive your car. If you spend a lot of time off-road or in rural areas, a woodland or forest-themed camo might be suitable. For urban environments, you might opt for a more contemporary and edgy design that stands out on city streets.
4. Test It Virtually: Many car customization websites offer virtual tools that allow you to visualize different camouflage designs on your car. Utilize these tools to see how different patterns look on your vehicle before making a final decision.
5. Consider Your Lifestyle: Your lifestyle plays a significant role in choosing the right camo design. If you have an adventurous spirit and love exploring the outdoors, a rugged and bold camouflage might align with your passions. On the other hand, if you prefer a more refined and sophisticated style, a subtle and well-blended pattern could be the ideal choice.
6. Seek Professional Advice: Consult with professional car wrap installers or designers. They have experience working with different camouflage patterns and can offer valuable insights and suggestions based on your car's specific characteristics.
7. Evaluate Camouflage Quality: Not all camouflage designs are created equal. Look for high-quality vinyl wraps that are durable and weather-resistant. A premium camo car wrap will not only look better but also last longer, ensuring your investment is worth it.
8. Avoid Overcomplicating: While intricate and detailed camouflage designs can be captivating, they might not always translate well on a car's surface. Sometimes, simpler patterns work better and are more visually appealing.
9. Incorporate Personal Touches: If you're feeling creative, consider adding personal touches to the camouflage design. Customization elements like your initials, symbols, or favorite colors can make your car wrap even more special and unique.
10. Ask for Opinions: Don't hesitate to ask for opinions from family, friends, or fellow car enthusiasts. Their insights might help you discover new perspectives and refine your decision.
By considering these essential factors and taking your time to explore different camouflage designs, you'll be well on your way to choosing the perfect car wrap that will turn heads and reflect your passion for automobiles.

Step-by-Step Guide to DIY Camouflage Car Wrapping
Materials and Tools You'll Need:
1. Camouflage car wrap vinyl sticker
2. Cleaning supplies (soap, water, and microfiber towels)
3. Squeegee or soft rubber application tool
4. Heat gun or hairdryer
5. Utility knife with fresh blades
6. Measuring tape or ruler
7. Masking tape
Step 1: Clean Your Car Thoroughly
Start by washing your car's exterior with soap and water to remove any dirt, dust, or grime. Pay extra attention to the areas where you'll be applying the vinyl wrap. Rinse off the soap and dry the car using microfiber towels.
Step 2: Measure and Cut the Vinyl
Unroll the camouflage car wrap vinyl and measure the sections you'll need to cover the specific areas of your car. Leave some extra material for trimming. Cut out the pieces carefully using a utility knife with a fresh blade to ensure clean edges.
Step 3: Prepare the Surface
Use masking tape to mark off the areas where you'll apply the vinyl wrap. This will serve as a guideline during the application process. Make sure the surface is clean and free of any residue or wax.
Step 4: Apply the Vinyl
Start with one section at a time. Peel off a small section of the backing from the vinyl wrap and align it with the corresponding area on your car. Gently press the vinyl onto the surface, using a squeegee or soft rubber application tool to smooth out any air bubbles as you go.
Step 5: Stretch and Heat the Vinyl
As you work your way around the car, use a heat gun or hairdryer to slightly heat the vinyl wrap. This will make it more pliable and easier to stretch and mold around curved areas and contours of the car. Be careful not to overheat the vinyl, as it may cause damage.
Step 6: Trim the Excess Vinyl
Once the vinyl is applied to a section, use a utility knife to carefully trim off the excess material along the edges and edges of the car's body panels. Take your time to achieve clean and precise cuts.
Step 7: Work Slowly and Methodically
Continue applying the vinyl wrap section by section, following the same process of peeling, aligning, smoothing, stretching, and trimming. Take your time to ensure a professional-looking finish.
Step 8: Finishing Touches
After the entire car is wrapped, go over the entire surface with the heat gun or hairdryer again. This will help the vinyl adhere better and eliminate any remaining air bubbles or wrinkles. Use the squeegee to smooth out any final imperfections.
Step 9: Inspect and Make Adjustments
Carefully inspect the entire wrapped surface for any areas that may need extra attention. If you find any lifted edges or imperfections, use the heat gun and squeegee to fix them.
Step 10: Let the Vinyl Set
Allow the vinyl wrap to set for at least 24 hours before exposing your car to any harsh elements or washing it. This will give the adhesive enough time to bond securely to the car's surface.
With patience and attention to detail, you can successfully complete a DIY camouflage car wrapping project that adds a unique and personalized touch to your vehicle. However, if you're unsure about your abilities or want a flawless finish, consider seeking professional installation services.
Camo Car Wrapping Dos and Don'ts: Expert Tips for a Flawless Finish
Achieving a flawless camo car wrapping requires attention to detail and precision. Here are some dos and don'ts, along with expert tips, to ensure a successful camo car wrap installation:
Dos:
1. Thoroughly Clean the Car: Before starting the wrapping process, ensure the car's surface is free from dirt, dust, and debris. Use a gentle car wash soap and microfiber cloth to clean the vehicle properly.
2. Use the Right Tools: Invest in high-quality tools designed for car wrapping, such as squeegees, razor blades, and heat guns. These tools will make the installation process smoother and help avoid bubbles or creases.
3. Measure and Plan: Carefully measure and plan the placement of each section of the camo vinyl wrap. Precise measurements and planning will result in a cohesive and professional-looking finish.
4. Start with Flat Panels: Begin the wrapping process on flat and straightforward sections of the car, such as doors or the roof. This will allow you to gain confidence and experience before tackling more complex areas.
5. Apply Heat Strategically: Use a heat gun to soften the vinyl during application. This will make it easier to mold the vinyl around curves and edges, providing a seamless finish.
6. Seek Professional Help if Needed: If you're uncertain about the installation process, consider seeking assistance from a professional car wrapping service. They have the expertise and experience to deliver exceptional results.
Don'ts:
1. Rush the Process: Take your time during the wrapping process. Rushing can lead to mistakes, wrinkles, and improper alignment of the vinyl.
2. Overstretch the Vinyl: Avoid stretching the vinyl excessively, as it can cause it to thin out and become prone to tears. Stretch the vinyl just enough to fit the contours of the car.
3. Forget to Vent Air Bubbles: If you encounter air bubbles during the application, use a squeegee to gently push them towards the edges for release.
4. Cut Vinyl Directly on the Car: Never cut the vinyl directly on the car's surface with a razor blade. This can lead to accidental scratches or damage to the car's paint.
5. Neglect Post-Installation Care: After completing the wrapping process, allow the vinyl to set and cure properly. Avoid washing the car for a few days and, when washing it afterward, use a gentle touch and mild soap.
6. Overlook Maintenance: Regularly inspect the wrap for any signs of wear or lifting edges. Promptly address any issues to maintain the flawless appearance and prolong the lifespan of the camo car wrap.
By following these dos and don'ts and heeding expert tips, you'll increase your chances of achieving a flawless camo car wrapping that showcases your car enthusiast's dream upgrade.
Camouflage Vinyl Stickers: How to Properly Maintain and Clean Them
Proper maintenance and cleaning are essential to ensure your camouflage vinyl stickers stay in pristine condition and maintain their visual appeal. Here are some tips to help you properly care for and clean your camouflage vinyl stickers:
1. Gentle Hand Washing: When washing your car, avoid using high-pressure washers or harsh scrubbing brushes directly on the vinyl stickers. Instead, use a gentle hand washing method with a soft sponge or microfiber cloth. This will prevent any potential damage to the sticker's surface.
2. Mild Soap and Water: Mix a mild soap (dish soap or car wash soap) with water to create a soapy solution. Apply the solution to the camouflage vinyl stickers using the soft sponge or cloth, and gently wipe them clean. Avoid using abrasive or chemical-heavy cleaners that might harm the vinyl.
3. Avoid Abrasives and Solvents: Do not use abrasive cleaners, polishers, or solvents like acetone, alcohol, or ammonia-based products on the camouflage vinyl stickers. These substances can cause fading, discoloration, or even damage the adhesive, leading to premature peeling.
4. Rinse Thoroughly: After cleaning, ensure you rinse off all the soap residue completely. Residual soap can cause streaks or attract dirt and grime.
5. Pat Dry: Use a soft, clean towel to pat dry the camouflage vinyl stickers gently. Avoid vigorous rubbing, as it may cause the vinyl to lift or peel.

6. Avoid Automatic Car Washes: If possible, avoid automatic car washes with brushes, as they can be too harsh on the vinyl stickers. Touchless car washes are a safer option, but hand washing remains the best choice.
7. Waxing and Sealants: While waxing can be beneficial for the car's paint, avoid applying wax or sealants directly on the vinyl stickers. The chemicals in these products may harm the vinyl material.
8. Protect from UV Exposure: Prolonged exposure to intense sunlight can lead to fading of the camouflage vinyl stickers over time. Whenever possible, park your car in the shade or use a car cover to protect it from the sun.
9. Regular Inspection: Periodically inspect your camouflage vinyl stickers for any signs of peeling, bubbling, or damage. If you notice any issues, address them promptly to prevent further deterioration.
10. Store-Bought Vinyl Protectants: Some specially formulated vinyl protectants are available in the market. These products can help protect the vinyl stickers from UV rays and maintain their appearance. However, always read the product label and ensure it is compatible with your specific vinyl type.
By following these maintenance and cleaning tips, you can extend the life of your camouflage vinyl stickers and keep them looking vibrant and eye-catching on your car.
FAQ for camouflage car wrap vinyl sticker?
Q: How is a camouflage car wrap applied?
A: Camouflage car wraps are applied similarly to other vinyl wraps. The process involves thoroughly cleaning the car's surface, carefully measuring and cutting the vinyl to fit, and then using heat and pressure to adhere it to the vehicle.
Q: Can I install a camouflage car wrap myself, or should I hire a professional?
A: While DIY installation is possible for those with experience, hiring a professional installer is recommended for the best results. Professionals have the skills and tools needed to ensure a flawless and long-lasting application.
Q: Will a camouflage car wrap damage the original paint of my car?
A: No, a properly installed and removed camouflage car wrap should not damage the underlying paint. In fact, it can protect the paint from minor scratches and UV damage.
Q: Can I remove a camouflage car wrap myself, or is professional removal necessary?
A: While it's possible to remove a car wrap yourself, professional removal is recommended to avoid potential damage to the paint. Professionals use techniques and solvents that make the process smoother.
Q: Are camouflage car wraps only available in specific patterns, or can I customize the design?
A: Camouflage car wraps come in various patterns, but many manufacturers offer customizable options. You can work with a designer to create a unique camouflage design that suits your preferences.
Final Words
In conclusion, mastering the art of camo car wrapping offers car enthusiasts a dream upgrade that combines style, individuality, and protection for their beloved rides. Embracing the diverse camouflage designs available allows car owners to truly express their personalities and make a bold statement on the road. Whether opting for a DIY project or seeking the expertise of professional installers, the key lies in meticulous application and proper maintenance. By following our expert tips and exploring the array of camouflage patterns, you can elevate your car's aesthetics to new heights and create a show-stopping vehicle that turns heads wherever it goes. So, unleash your creativity, embark on this thrilling journey, and enjoy the satisfaction of transforming your car into a true masterpiece with the artful allure of camo car wrapping. Happy wrapping!