Benefits of Vinyl Wrapping Your Car's Interior
Here are some benefits of vinyl wrapping your car's interior:
1. Protection Against Wear and Tear:
- Vinyl wrapping provides a protective layer that shields the original interior surfaces from scratches, scuffs, and other forms of wear and tear.
2. Enhanced Aesthetic Appeal:
- Vinyl wraps come in a wide range of colors, textures, and finishes, allowing you to completely transform the look of your car's interior. Whether you prefer a sleek matte finish, a glossy shine, or a textured pattern like carbon fiber, vinyl wraps offer endless customization options.
3. Easy Cleaning and Maintenance:
- Vinyl-wrapped surfaces are generally easier to clean and maintain compared to traditional materials. They can be wiped down with a mild cleaning solution, and stubborn stains or marks can often be removed without causing damage to the wrap.
4. Customization for Personal Style:
- Vinyl wrapping allows you to express your unique style and personality through your car's interior.
5. Resale Value Preservation:
- By protecting the original interior surfaces, which can help maintain the resale value of your car. When it comes time to sell or trade in your vehicle, having a well-preserved interior can make a positive impression on potential buyers.
6. Non-Permanent Modification:
- Unlike traditional upholstery changes or permanent alterations, vinyl wrapping is a reversible modification. If you decide to change the look or revert to the original interior, the wrap can be safely removed without damaging the underlying surfaces.
7. Cost-Effective Alternative to Reupholstering:
- Reupholstering the interior of a car can be a costly and time-consuming process. Vinyl wrapping offers a more budget-friendly option to achieve a similar level of customization without the high price tag.
8. Versatility in Design Options:
- Vinyl wraps can be used to create intricate designs, patterns, and even incorporate logos or branding elements.
9. Quick Installation Process:
- Professional installers can complete a vinyl wrap installation in a relatively short amount of time compared to other interior modification methods. This means less downtime for your vehicle.
10. Durable and Long-Lasting:
- High-quality vinyl wraps are designed to withstand the rigors of daily use and exposure to the elements.
Remember, while vinyl wrapping offers numerous benefits, it's important to have the installation done by a professional or, if you're attempting it yourself, to follow proper techniques to ensure a smooth and long-lasting result.


Popular Vinyl Wrap Styles and Finishes
Here are some popular vinyl wrap styles and finishes:
1. Matte Finish:
- A non-reflective, smooth surface that gives a sophisticated, understated look to your car's interior. Matte finishes are less prone to showing imperfections.
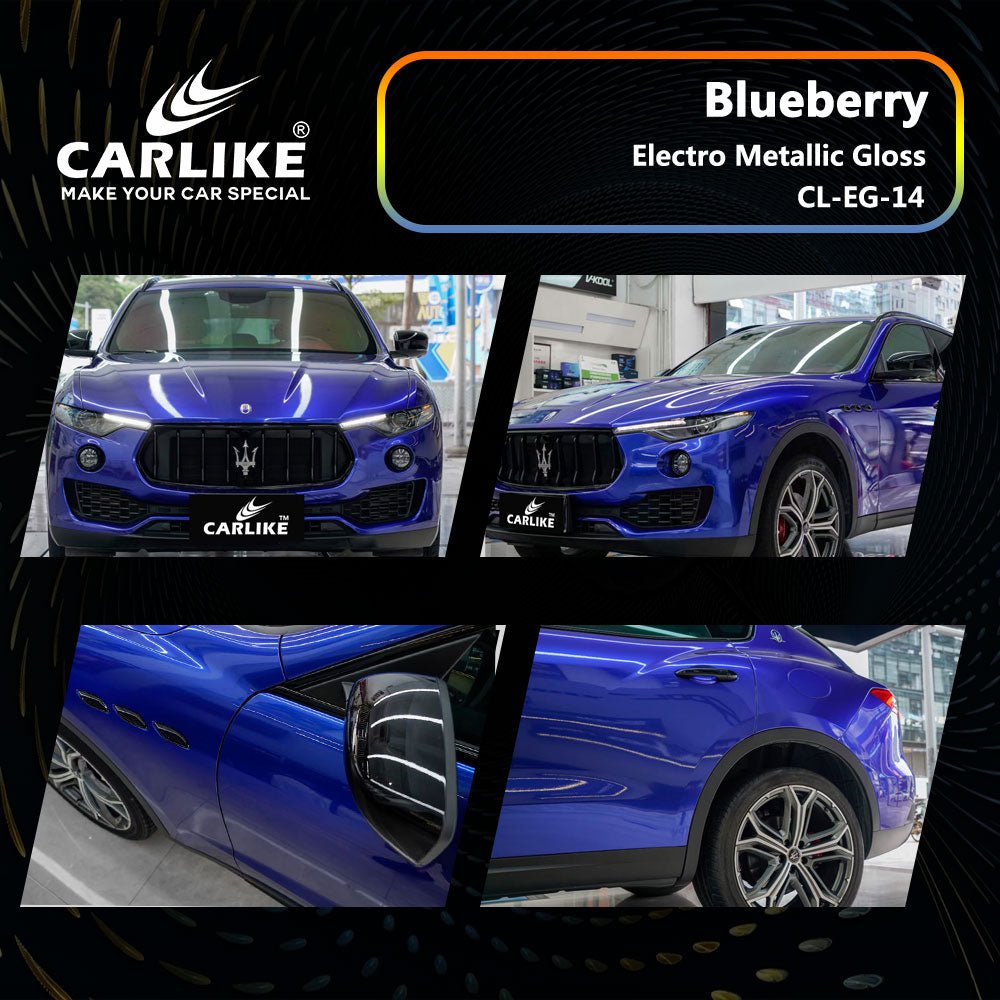
2. Glossy Finish:
- Provides a high-shine, reflective surface that exudes a polished and sleek appearance. Glossy finishes are known for their vibrant colors and mirror-like effect.
3. Satin Finish:
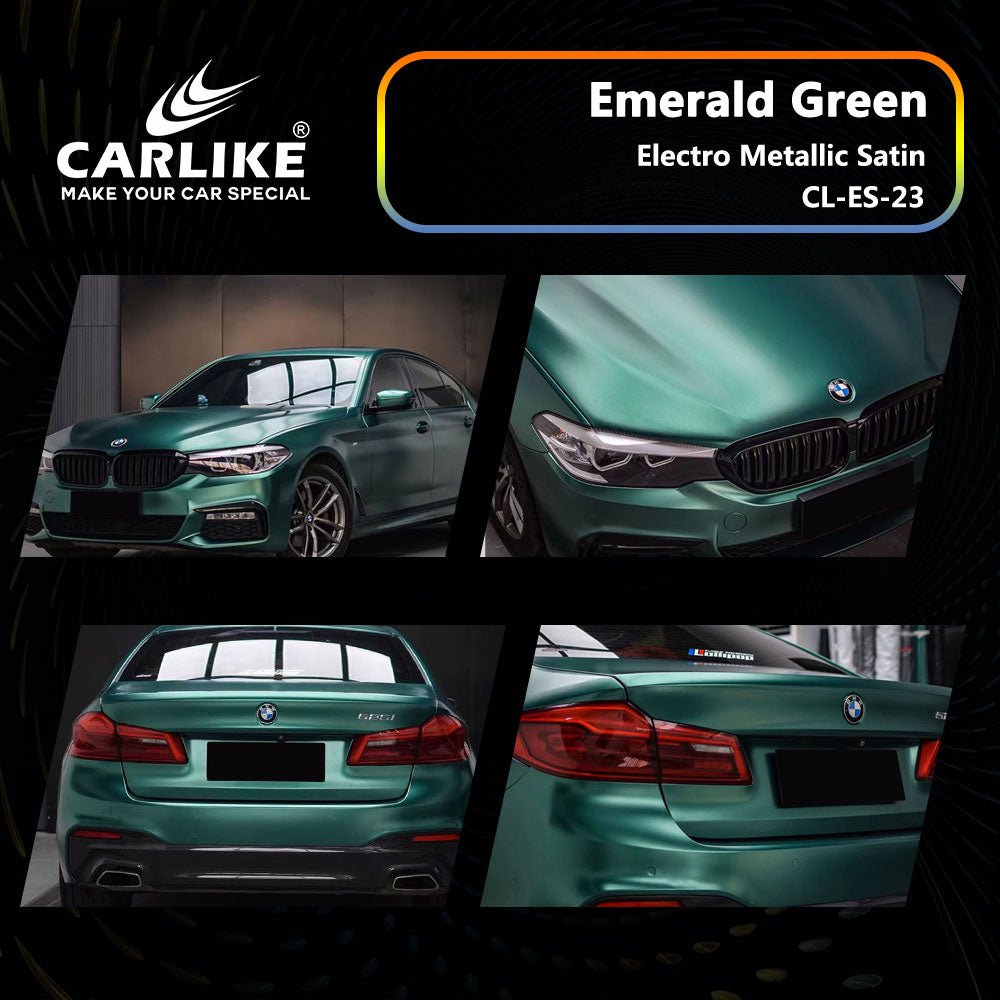
- Strikes a balance between matte and glossy, offering a subtle sheen that provides depth and richness to the color.
4. Metallic Finish:
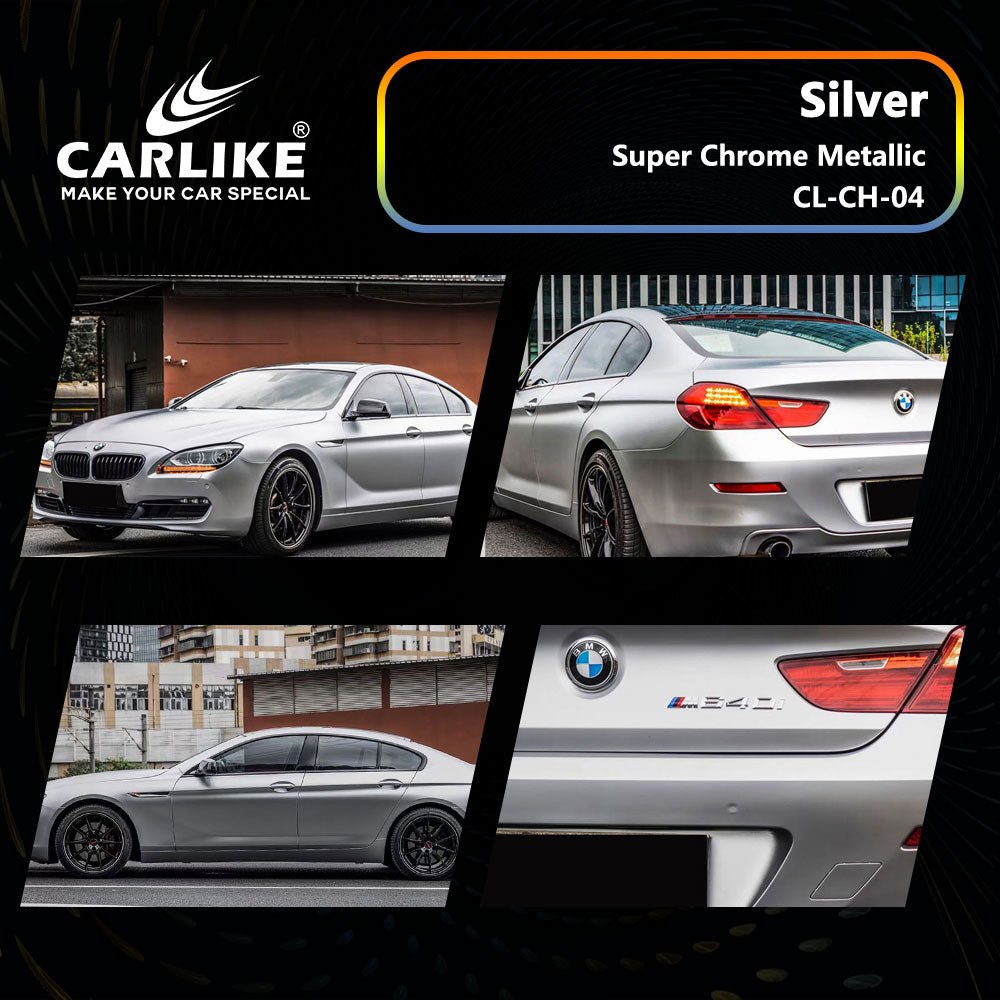
- Contains metallic flakes or particles that give a sparkling, glittering effect under light.
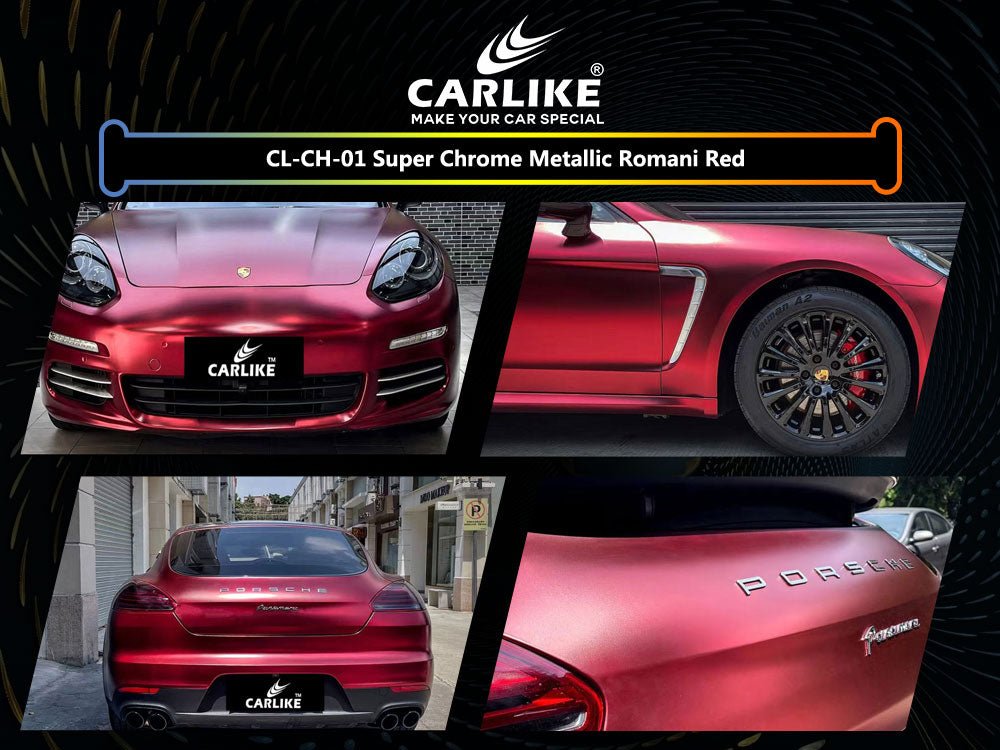
5. Chrome Finish:
- Emulates the look of polished chrome metal, providing a high-gloss, mirror-like surface. Chrome finishes are attention-grabbing and bold.
6. Brushed Metal Finish:
- Resembles the texture of brushed metal, creating a unique and industrial look.
7. Carbon Fiber Texture:
- Mimics the appearance of woven carbon fiber, providing a high-tech and sporty feel.
8. Wood Grain Finish:
- Replicates the look and texture of various wood types, offering a classic and luxurious feel to the interior.
9. Leather Texture:
- Provides a tactile surface that mimics the feel of genuine leather.
10. Custom Designs and Patterns:
- Unlimited possibilities for creating unique and personalized interiors.
11. Color Shifting or Chameleon Finish:
- Exhibits a color-changing effect depending on the viewing angle and lighting conditions.
12. Pearlescent Finish:
- Contains pearlescent particles that give a subtle iridescent effect, adding depth and dimension to the color. Pearlescent finishes have a soft, shimmering appearance.
Step-by-Step Guide to DIY Car Interior Vinyl Wrapping
Step 1: Preparing the Interior Surfaces
Before you start applying the vinyl wrap, it's crucial to ensure that the interior surfaces are clean and free of any dirt, dust, or grease. Follow these steps:
1. Gather Your Supplies:
- Car interior vinyl wrap sheets
- Squeegee or applicator tool
- Heat gun or hair dryer
- Utility knife or precision cutting tool
- Cleaning supplies (e.g., isopropyl alcohol, microfiber cloth)
2. Clean the Surfaces:
- Begin by thoroughly cleaning the areas you plan to wrap. Use isopropyl alcohol and a microfiber cloth to remove any residue.
3. Remove Obstacles:
- Take out any detachable parts like trim pieces, handles, or knobs, if possible. This makes the wrapping process easier.
4. Mask Off Edges and Seams (Optional):
- Use masking tape to cover edges and seams that you don't want to wrap. This ensures clean lines and edges.
Step 2: Applying the Vinyl Wrap
Now that your surfaces are clean and prepared, it's time to apply the vinyl wrap:
1. Measure and Cut the Vinyl:
- Measure the area you're wrapping and cut the vinyl wrap material slightly larger than the surface to allow for adjustments.
2. Peel and Stick:
- Begin by peeling off the backing of the vinyl wrap. Start from one corner and gradually smooth it onto the surface, using a squeegee to eliminate air bubbles.
3. Use a Heat Gun or Hair Dryer:
- Gently heat the vinyl wrap as you go. This helps the material conform to curves and contours for a smooth finish.
4. Smooth Out Air Bubbles:
- If you encounter any air bubbles, use the squeegee to gently push them towards the edge and out from under the vinyl.
Step 3: Trimming and Finishing Touches
With the vinyl wrap applied, it's time to trim any excess and ensure a neat, professional look:
1. Trim Excess Material:
- Use a precision cutting tool or utility knife to carefully trim away the excess vinyl wrap along the edges.
2. Reattach Detachable Parts:
- If you removed any parts in Step 1, now is the time to carefully reattach them.
3. Inspect and Adjust:
- Carefully inspect the wrapped area for any imperfections or areas that may need adjustment. Use the heat gun to make any necessary adjustments.
4. Clean and Polish:
- Once you're satisfied with the wrap, give the entire surface a final clean to remove any fingerprints or residue. Optionally, apply a vinyl protectant for added durability.
Remember, practice and patience are key when working with vinyl wrap. If you make a mistake, don't be discouraged. You can carefully peel off and reapply the vinyl. Take your time, and enjoy the process of transforming your car's interior!
Vinyl Wrap Maintenance and Cleaning Tips
Here are some vinyl wrap maintenance and cleaning tips to help keep your wrapped interior looking fresh:
1. Gentle Cleaning Solutions:
- Use mild, non-abrasive cleaning solutions. Avoid harsh chemicals or abrasive cleaners as they can damage the vinyl.
2. Microfiber Cloth:
- Use a clean, soft microfiber cloth for wiping down the surfaces. Microfiber is gentle and won't scratch the vinyl.
3. Warm Water and Soap
- A mixture of warm water and a few drops of mild dish soap can be an effective and safe cleaning solution.
4. Avoid Ammonia-Based Cleaners:
- Avoid using cleaners that contain ammonia, bleach, or solvents as they can deteriorate the vinyl over time.
5. Test in an Inconspicuous Area:
- Before using any cleaning solution, test it in a small, inconspicuous area to ensure it doesn't cause any damage or discoloration.
6. Gently Wipe Down Surfaces:
- Gently wipe down the wrapped surfaces with the cleaning solution using a soft cloth. Do not scrub vigorously.
7. Rinse Thoroughly:
- After cleaning, rinse the surface with clean water to remove any residue. Ensure that no soap is left behind.
8. Pat Dry with a Clean Cloth:
- After rinsing, pat the surface dry with a clean, dry cloth. Avoid rubbing, as this can cause friction and potentially damage the vinyl.
9. Avoid Direct Sunlight:
- Whenever possible, park your car in the shade or in a covered area. Prolonged exposure to direct sunlight can cause the vinyl to fade over time.
10. Use a Protective Spray:
- Consider using a vinyl protectant spray designed specifically for vinyl wraps. This can add an extra layer of protection and keep the vinyl looking fresh.
11. Avoid Abrasive Tools:
- Do not use abrasive brushes or scouring pads on vinyl-wrapped surfaces, as they can cause scratches.
12. Handle Stains Promptly:
- If you spill something on the vinyl, clean it up as soon as possible to prevent staining. Blot the area gently with a clean cloth.
Recommended Cleaning Products:
- Gentle soap (e.g., mild dish soap)
- Water-based vinyl cleaner
- Microfiber cloth
- Vinyl protectant spray
By following these maintenance and cleaning tips, you can ensure that your vinyl-wrapped car interior stays looking fresh and well-maintained for years to come.
FAQ for car interior vinyl wrap?
Q: What are the benefits of using vinyl wrap on car interiors?
A: Vinyl wrap offers protection against wear and tear, provides an enhanced aesthetic appearance, is easy to clean and maintain, and allows for customization without the need for permanent modifications.
Q: Can I apply a vinyl wrap to any surface in my car's interior?
A: Vinyl wrap can be applied to most smooth surfaces in a car's interior, including plastic, metal, and glass. However, highly textured or porous surfaces may require additional preparation.
Q: Can I remove a vinyl wrap from my car's interior without damaging the original surface?
A: Yes, vinyl wraps can typically be removed without causing damage to the underlying surface. However, it's important to follow proper removal techniques and use the right tools.
Q: Can I clean my vinyl-wrapped car interior with regular household cleaners?
A: It's recommended to use mild, non-abrasive cleaners and avoid harsh chemicals or solvents, which can damage the vinyl. Warm water with a small amount of mild dish soap is a safe cleaning solution.
Q: Can I reapply a vinyl wrap if it starts to peel or lift?
A: In some cases, a vinyl wrap that has started to peel or lift can be repositioned or re-adhered using heat and proper application techniques. However, it's best to consult a professional installer for advice.
Final Words
In conclusion, vinyl wrapping offers a world of possibilities for transforming your car's interior. With its durability, versatility, and aesthetic appeal, it's no wonder that more car enthusiasts and DIYers are turning to this method to refresh and customize their vehicles. Whether you're aiming for a sleek and modern look or a bold and unique design, the step-by-step guide provided here equips you with the knowledge to embark on your own vinyl wrapping journey. Remember, meticulous preparation, the right materials, and attention to detail are key to achieving professional results.


