Choosing the Right Vinyl Wrap for Your DIY Car Wrapping Project
Choosing the right vinyl wrap for your DIY car wrapping project is crucial to achieving a stunning and long-lasting result. The vinyl wrap serves as the outer layer of your vehicle, providing both aesthetic appeal and protection against external elements. With a wide variety of options available in the market, it's important to consider certain factors to make an informed decision.
1. Quality: Opting for a high-quality vinyl wrap is essential for durability and longevity. Look for reputable brands known for their expertise in manufacturing vinyl wraps specifically designed for automotive use. These wraps are engineered to withstand harsh weather conditions, UV rays, and general wear and tear.
2. Type of Vinyl Wrap: Vinyl wraps come in different types, each offering unique characteristics. The two main types are cast vinyl and calendared vinyl. Cast vinyl is more expensive but offers superior conformability, making it ideal for complex curves and contours of the vehicle. Calendared vinyl is more budget-friendly but may be prone to shrinking and peeling over time.
3. Finish and Texture: Vinyl wraps come in various finishes and textures, allowing you to express your style and achieve the desired look for your vehicle. Common finishes include gloss, matte, satin, metallic, and carbon fiber. Consider the overall aesthetic you want to achieve and choose a finish that complements your vehicle's design and personal preferences.

4. Color and Design Options: Vinyl wraps offer an extensive range of colors and designs to suit your individual taste. Whether you prefer a classic solid color or a bold and eye-catching design, explore the options available and select a wrap that resonates with your style and personality.
5. Installation Difficulty: Some vinyl wraps are designed with ease of installation in mind, making them more suitable for DIY enthusiasts. These wraps typically feature air-release technology, which allows for bubble-free application and easier repositioning during the installation process. Consider your skill level and the complexity of the wrap you choose, ensuring that you're comfortable with the installation process.
6. Warranty and Longevity: Check if the vinyl wrap you're considering comes with a warranty. Reputable manufacturers often provide warranties that cover fading, peeling, and other defects. Additionally, consider the expected lifespan of the vinyl wrap. High-quality wraps can last anywhere from five to ten years or more, depending on factors such as maintenance and exposure to environmental conditions.
7. Budget: Vinyl wraps vary in price depending on factors such as brand, quality, and complexity. Set a budget for your DIY car wrapping project and explore options within that range. Keep in mind that investing in a higher-quality vinyl wrap may result in better long-term performance and aesthetics.
By carefully considering these factors, you can make an informed decision when choosing the right vinyl wrap for your DIY car wrapping project. Remember to thoroughly research different options, read reviews, and seek advice from experienced car wrapping enthusiasts or professionals. Taking the time to select the right vinyl wrap will contribute to a successful and visually striking transformation of your vehicle.

Preparation and Cleaning: Essential Steps for a Successful DIY Car Wrap
Proper preparation and cleaning are crucial steps in achieving a successful DIY car wrap. Before applying the vinyl wrap to your vehicle, it's important to ensure that the surface is clean, smooth, and free from any contaminants that could affect the adhesion and longevity of the wrap. By following essential preparation and cleaning steps, you can maximize the chances of a flawless and long-lasting result.
1. Gather the necessary tools and materials: Before you begin the preparation process, gather all the tools and materials you'll need. This may include a pressure washer or hose, microfiber cloths, isopropyl alcohol or a dedicated vinyl wrap cleaning solution, a squeegee or application tool, masking tape, and a heat gun (if required).
2. Start with a clean surface: Thoroughly wash your vehicle using a mild detergent or automotive soap to remove dirt, grime, and any road contaminants. Use a pressure washer or hose with a gentle spray to rinse off the soap, ensuring that all areas are clean. Pay close attention to areas prone to accumulating dirt, such as the wheel wells and lower sections of the vehicle.
3. Decontaminate the surface: After washing, it's important to remove any remaining contaminants that may not be visible to the naked eye. Use a clay bar or a dedicated decontamination product to gently glide across the surface of the vehicle. This process helps eliminate embedded dirt, tar, or other pollutants that can affect the adhesion of the vinyl wrap.
4. Dry the surface: Use a clean, lint-free microfiber cloth to dry the vehicle thoroughly. Ensure that all areas, including crevices and edges, are completely dry before proceeding. Moisture trapped beneath the vinyl wrap can lead to bubbles and poor adhesion, compromising the overall finish.

5. Clean with isopropyl alcohol or a vinyl wrap cleaning solution: Before applying the vinyl wrap, it's essential to clean the surface with isopropyl alcohol or a vinyl wrap cleaning solution. This step removes any remaining residues, oils, or waxes that could hinder the adhesive properties of the wrap. Apply the cleaning solution to a microfiber cloth and wipe down the entire surface of the vehicle, working in small sections at a time.
6. Inspect for imperfections: Take the time to carefully inspect the surface for imperfections, such as scratches, dents, or chips. Address any necessary repairs before proceeding with the vinyl wrap installation. While small imperfections may not be visible after the wrap is applied, they can affect the overall finish and durability.
7. Mask off areas that won't be wrapped: If there are parts of the vehicle that won't be covered by the vinyl wrap, such as door handles, mirrors, or emblems, use masking tape to protect those areas. This step ensures clean edges and prevents accidental application of the vinyl wrap where it's not intended.
8. Consider heat and temperature: Depending on the specific vinyl wrap you're using, heat may be required during the installation process to achieve proper conformability and adhesion. If needed, have a heat gun or heat source ready, following the manufacturer's instructions for safe and effective use.
By meticulously following these essential preparation and cleaning steps, you create an optimal surface for applying the vinyl wrap. This promotes better adhesion, minimizes the risk of bubbles or wrinkles, and increases the overall longevity of the wrap. Investing time and effort in proper preparation and cleaning significantly contributes to the success of your DIY car wrap project, ensuring a professional and impressive result.
Tools and Materials: Must-Haves for DIY Car Wrapping
To successfully embark on a DIY car wrapping project, having the right tools and materials is essential. These tools enable you to properly handle and apply the vinyl wrap, ensuring a smooth and professional-looking result. Here is a comprehensive list of must-have tools and materials for DIY car wrapping:
1. Vinyl Wrap: The primary material you'll need is the vinyl wrap itself. Choose a high-quality vinyl wrap specifically designed for automotive applications. Consider factors such as durability, conformability, color options, and finishes (e.g., gloss, matte, metallic) based on your preferences.
2. Squeegee or Application Tool: A squeegee is a vital tool for smoothing out the vinyl wrap during installation, removing air bubbles, and achieving proper adhesion. Look for a squeegee with a felt or microfiber edge to prevent scratching the surface of the vinyl.
3. Cutting Tools: You'll need cutting tools to trim the vinyl wrap for a precise fit. Utility knives or precision cutting tools with sharp, retractable blades are commonly used for this purpose. Make sure to have spare blades on hand for when they become dull.
4. Heat Gun: A heat gun is used to heat the vinyl wrap during installation, allowing it to stretch and conform to the curves and contours of the vehicle. This tool is particularly useful for wrapping complex areas such as bumpers, mirrors, and door handles. Use the heat gun with caution and follow safety guidelines to prevent damage to the vinyl or the vehicle's surface.
5. Isopropyl Alcohol or Vinyl Wrap Cleaning Solution: Cleaning the surface of the vehicle before applying the vinyl wrap is crucial for optimal adhesion. Isopropyl alcohol or a dedicated vinyl wrap cleaning solution helps remove any dirt, residues, or oils that can hinder adhesion. Use a lint-free cloth or microfiber towel for application.
6. Masking Tape: Masking tape is useful for protecting areas of the vehicle that you don't want to wrap, such as emblems, badges, or trim pieces. It ensures clean edges and prevents accidental application of the vinyl wrap where it's not intended.

7. Tack Cloth: A tack cloth is a sticky cloth that removes any remaining dust or particles from the vehicle's surface after cleaning. It helps create a pristine surface for optimal adhesion.
8. Air Release Tool: Some vinyl wraps come with air-release technology, which allows for easy bubble removal during installation. An air release tool, also known as a bubble popper or bubble squeegee, is designed specifically for this purpose. It helps release trapped air and smooth out any bubbles that may appear during the wrapping process.
9. Heat-resistant Gloves: When using a heat gun or handling the heated vinyl wrap, heat-resistant gloves are essential for protecting your hands from burns or discomfort.
10. Surface Prep Solution: In addition to cleaning solutions, surface prep solutions may be recommended by the vinyl wrap manufacturer. These solutions help improve the surface's adhesion characteristics by removing any residual contaminants or oils.
11. Microfiber Cloths: Soft and lint-free microfiber cloths are essential for various tasks during the car wrapping process, such as drying the surface, applying cleaning solutions, and wiping down the vinyl wrap.
12. Stepladder or Platform: Depending on the size and height of your vehicle, having a stepladder or platform can make it easier to access higher areas and ensure even wrapping.
By having these essential tools and materials readily available, you'll be well-equipped to tackle your DIY car wrapping project with confidence. Remember to follow safety guidelines, refer to the manufacturer's instructions, and take your time to achieve the best possible result.
Advanced DIY Car Wrapping Techniques: Adding Details and Accents
Advanced DIY car wrapping techniques allow you to elevate the visual impact of your vehicle by adding intricate details and accents. These techniques go beyond the basic wrapping process and involve more intricate and precise application methods. By incorporating details and accents, you can create a truly unique and personalized look for your car. Here's a comprehensive explanation of advanced DIY car wrapping techniques for adding details and accents:
1. Pinstriping: Pinstriping is a classic technique that involves applying thin lines of vinyl along the edges or contours of your vehicle to create a stylish and sophisticated look. This technique requires precision and steady hands. You can use a fine-line tape or a pinstriping brush to apply the vinyl, ensuring straight lines and clean edges.
2. Two-Tone Wrapping: Two-tone wrapping involves applying two different vinyl colors to different sections of your vehicle to create a visually dynamic and contrasting effect. For example, you can wrap the roof and hood in one color while using a different color for the rest of the car. Proper planning and precision in aligning the two colors are crucial to achieve a seamless transition and an overall cohesive appearance.
3. Decals and Graphics: Decals and graphics can be used to add flair and personality to your car wrap. These can include custom designs, logos, patterns, or even illustrations. With the help of a plotter cutter or precision cutting tools, you can create intricate decals or have them professionally designed and printed. Applying decals requires attention to detail, ensuring proper alignment and smooth application to achieve a professional look.
4. Chrome or Metallic Accents: Adding chrome or metallic accents can provide a luxurious and eye-catching effect. Chrome vinyl wraps or metallic finishes can be applied to specific parts of the vehicle, such as the grille, side mirrors, door handles, or trim pieces. These accents can create a striking contrast against the base color of the wrap, enhancing the overall aesthetics.

FAQ for diy car wrap?
Q: What is a DIY car wrap?
A: A DIY car wrap is the process of applying a vinyl film to the exterior of a vehicle to change its color or appearance. It is a cost-effective alternative to traditional paint jobs and allows for customization and easy removal.
Q: Is DIY car wrapping difficult?
A: While DIY car wrapping may require some practice and patience, it is a skill that can be learned. With proper preparation, tools, and techniques, many enthusiasts successfully wrap their vehicles.
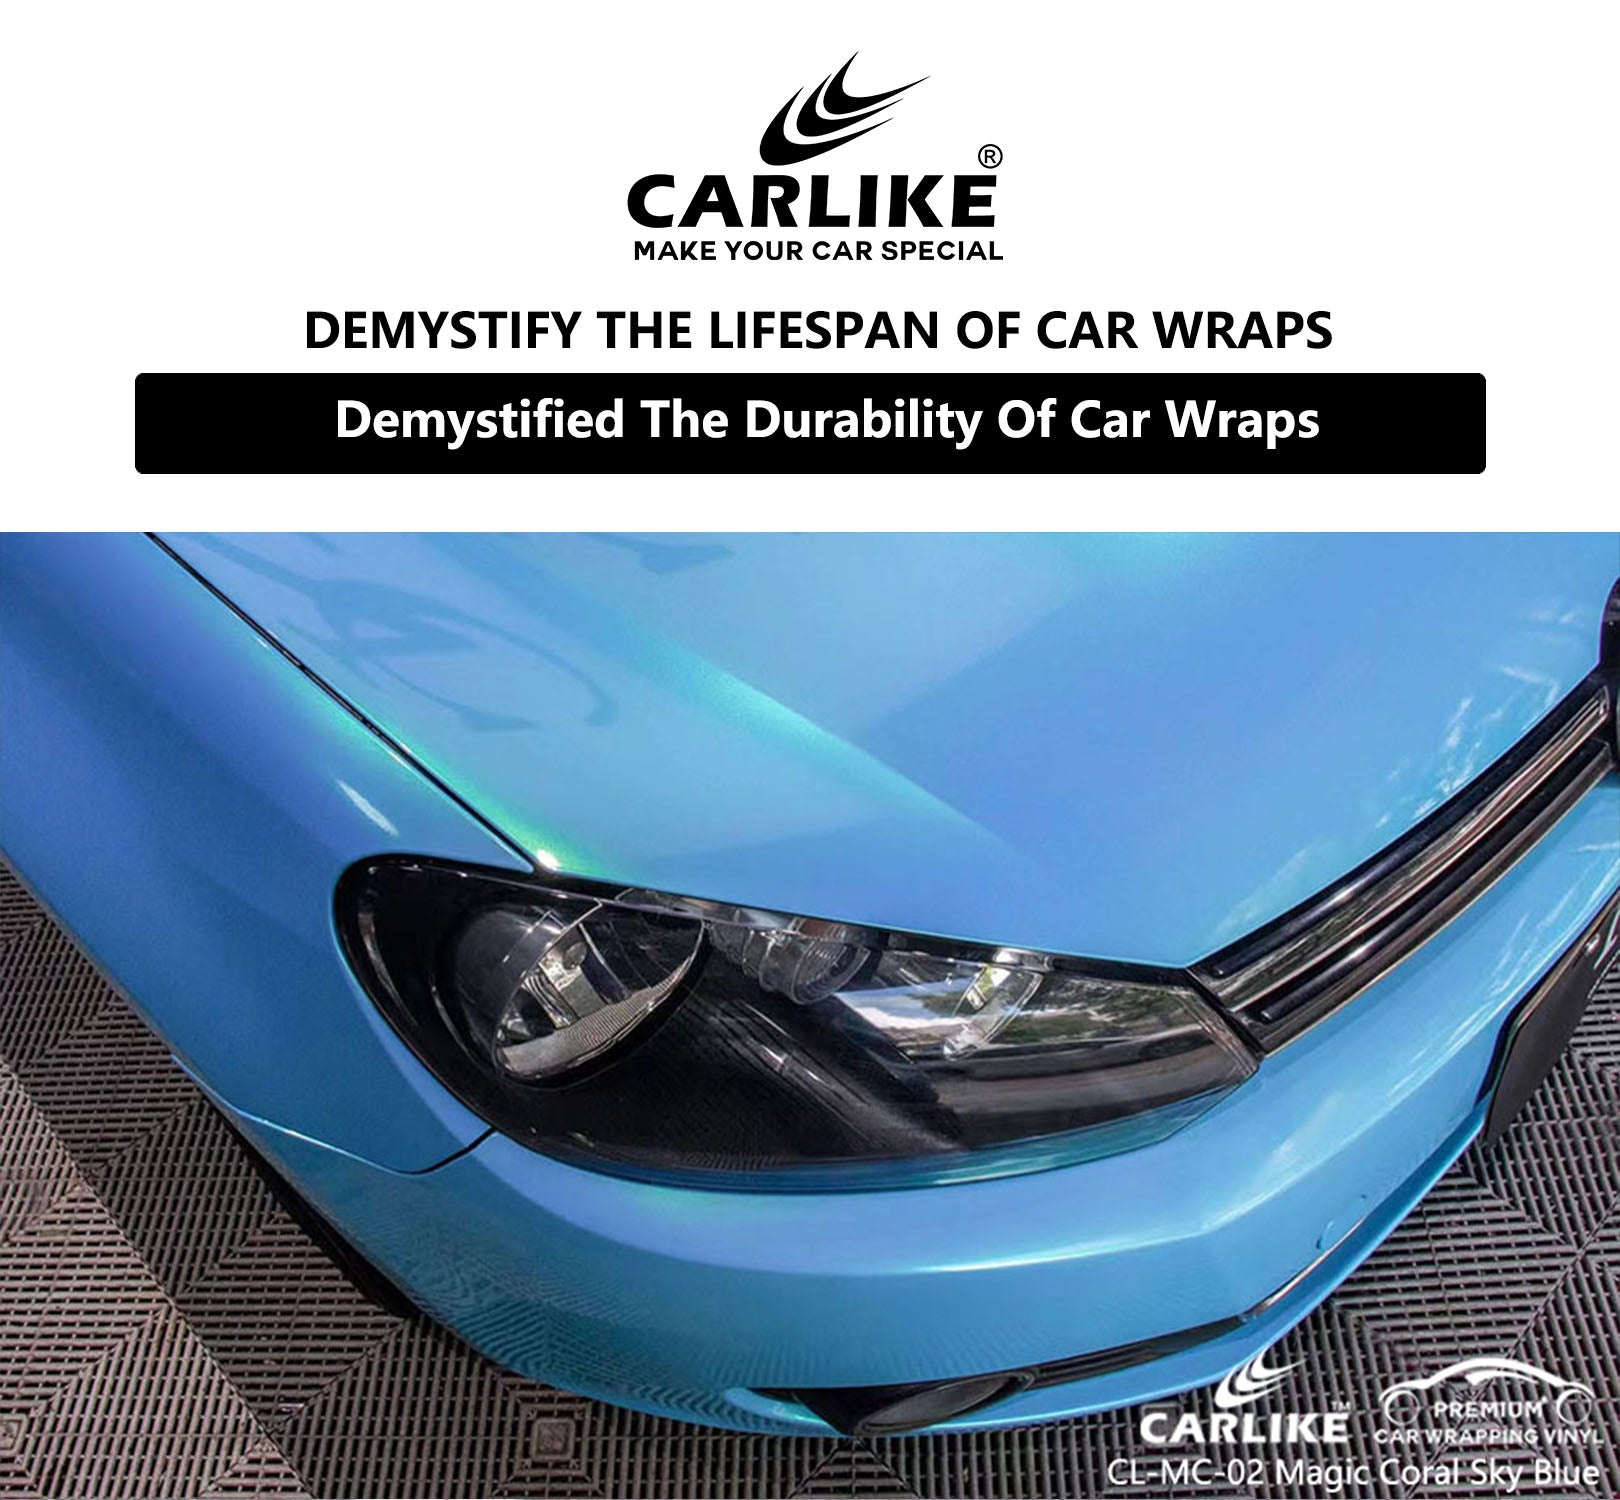
Q: How long does a DIY car wrap last?
A: The longevity of a DIY car wrap depends on various factors, including the quality of the vinyl wrap, environmental conditions, and proper maintenance. Generally, high-quality wraps can last five to ten years or more if properly cared for.
Q: What tools do I need for a DIY car wrap?
A: Some essential tools for a DIY car wrap include vinyl wrap, a squeegee or application tool, cutting tools, heat gun, isopropyl alcohol or vinyl wrap cleaning solution, masking tape, and microfiber cloths.
Q: How do I prepare my car for a DIY wrap?
A: Proper preparation is crucial. It involves cleaning the surface thoroughly, removing any contaminants, and ensuring the surface is dry. Additionally, inspecting for imperfections and addressing any necessary repairs is essential.
Final Words
In conclusion, DIY car wrapping provides car lovers with a fantastic opportunity to express their unique style and transform the appearance of their vehicles. With the right techniques, tools, and materials, you can achieve professional-looking results that are both visually striking and durable. Whether you choose a vibrant color, a sleek matte finish, or a bold pattern, the possibilities are endless. Embrace your creativity, take your time with the process, and enjoy the satisfaction of seeing your vision come to life.
So go ahead, unleash your inner car enthusiast, and embark on a DIY car wrapping adventure to make your vehicle truly one-of-a-kind. Express your style and turn heads wherever you go with the artistry and craftsmanship of DIY car wrapping.