Get vinyl wrap typically involves the following steps:
Determine what you want to wrap:
You'll need to decide what object you want to have wrapped with vinyl. It could be a car, truck, boat, motorcycle, or any other object you want to give a unique look.
When determining what you want to wrap with vinyl, you'll need to consider several factors, such as the size of the object, the complexity of the shape, and the condition of the surface. Here are some common objects that are often wrapped with vinyl:
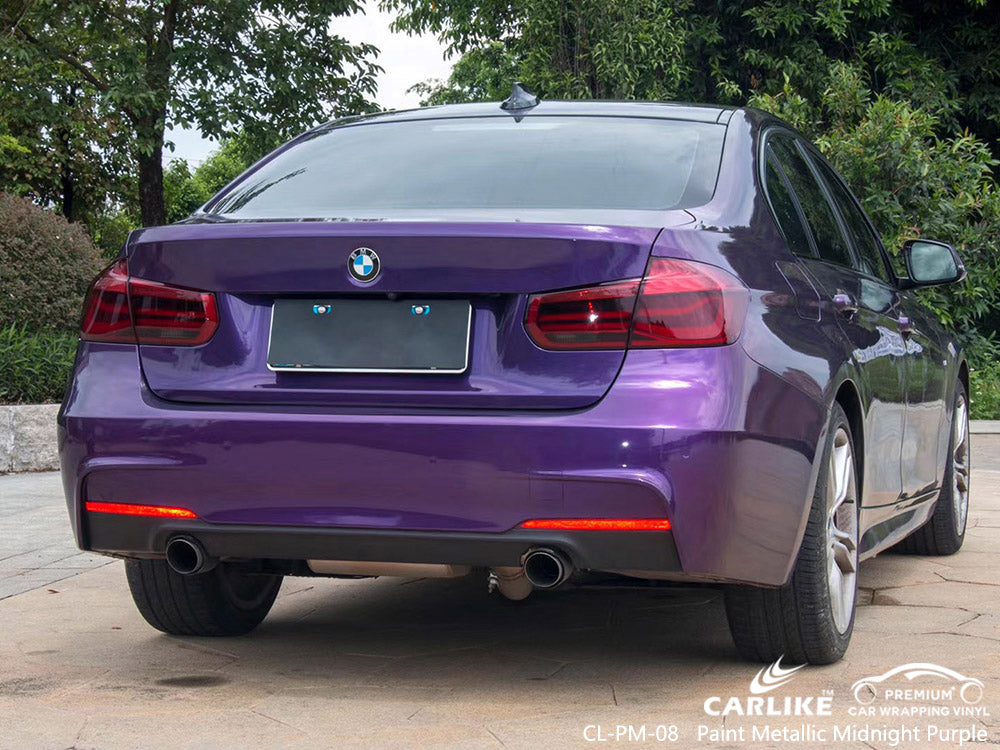
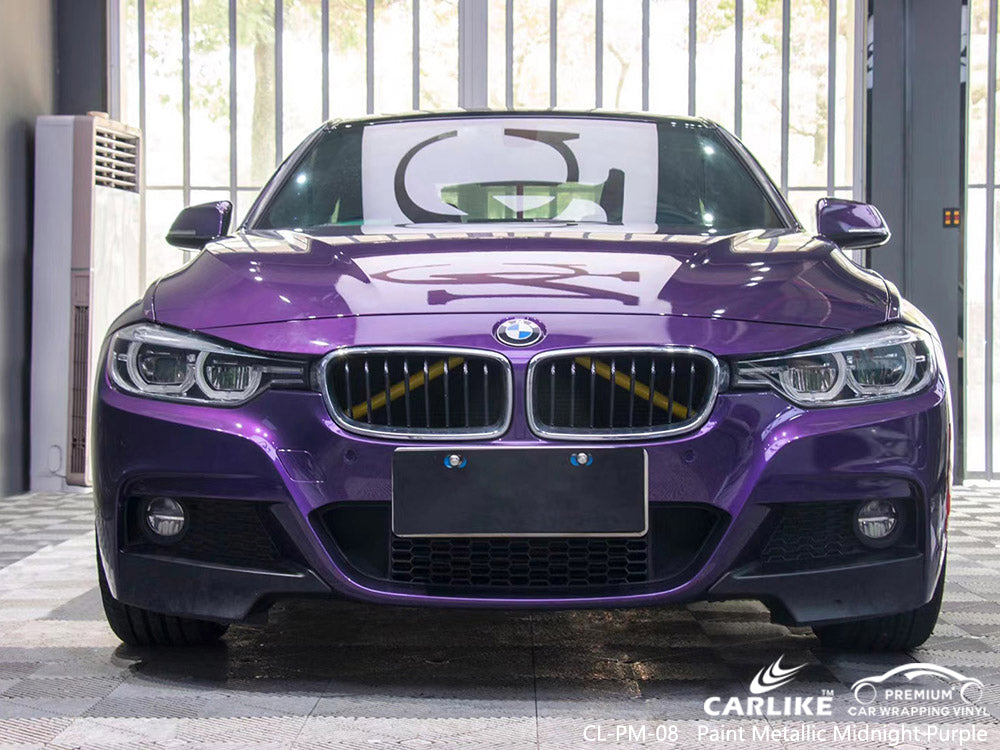
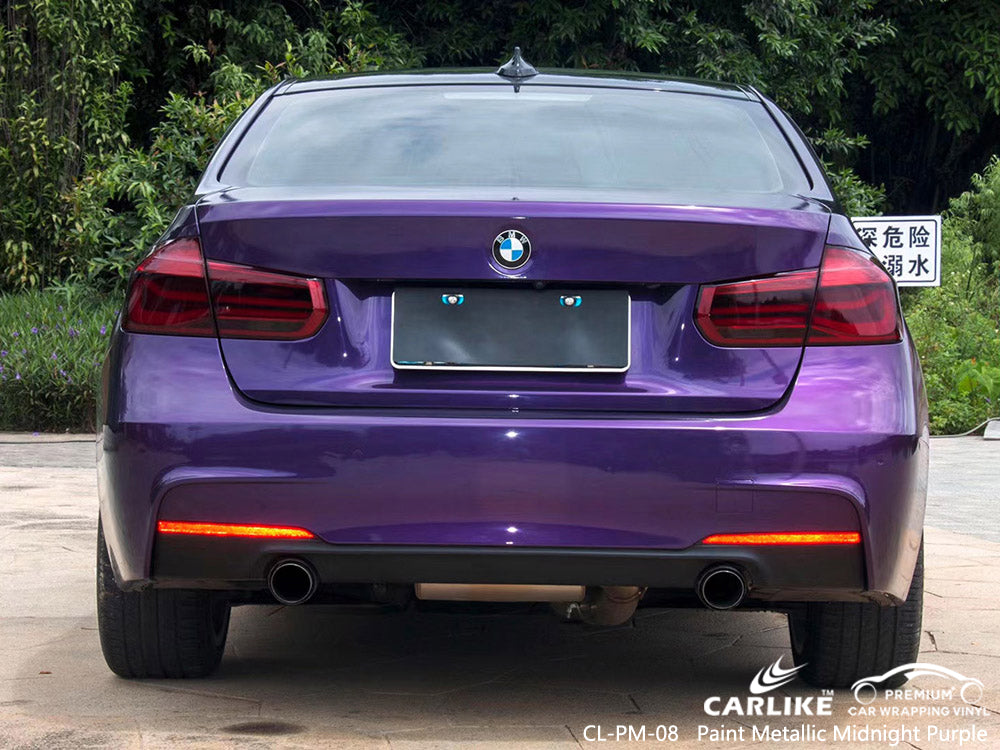
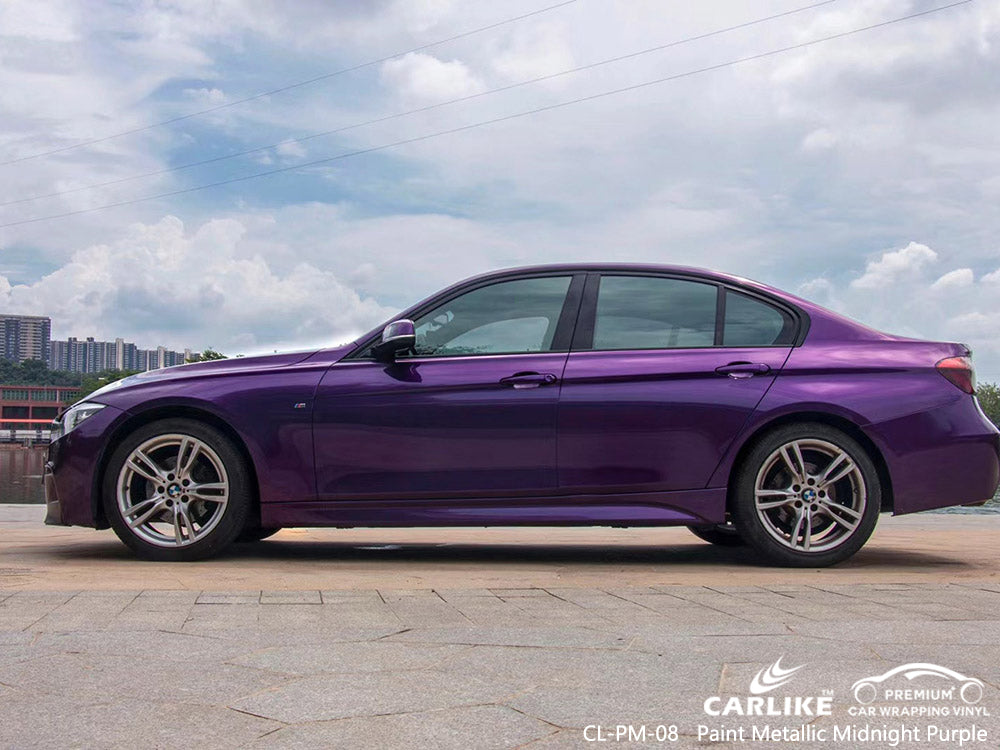
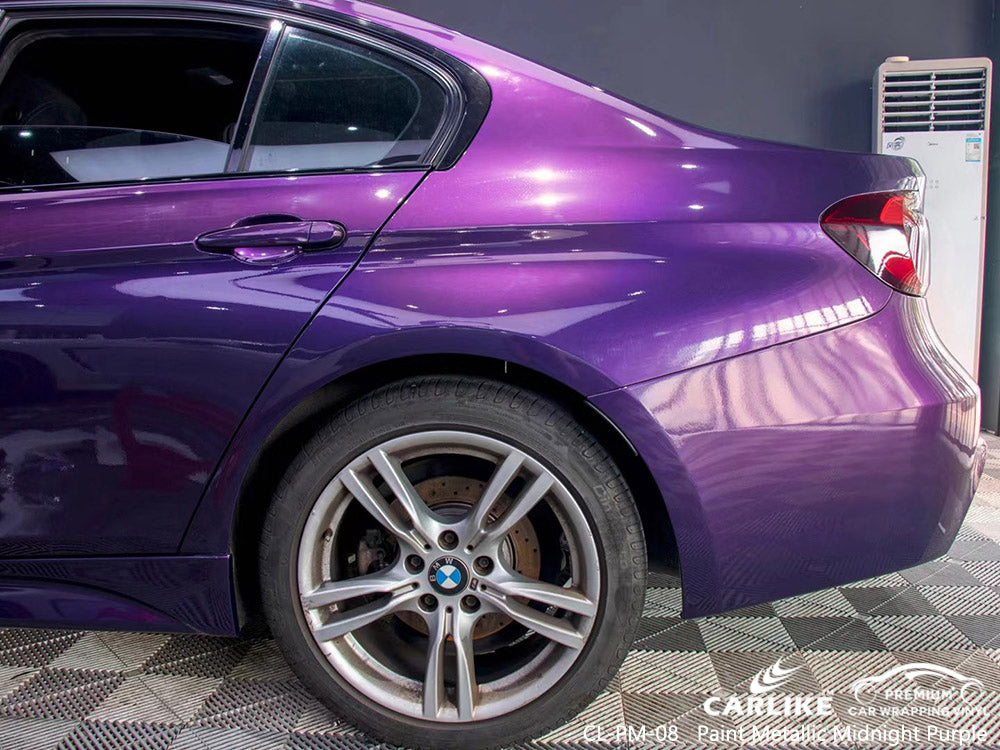
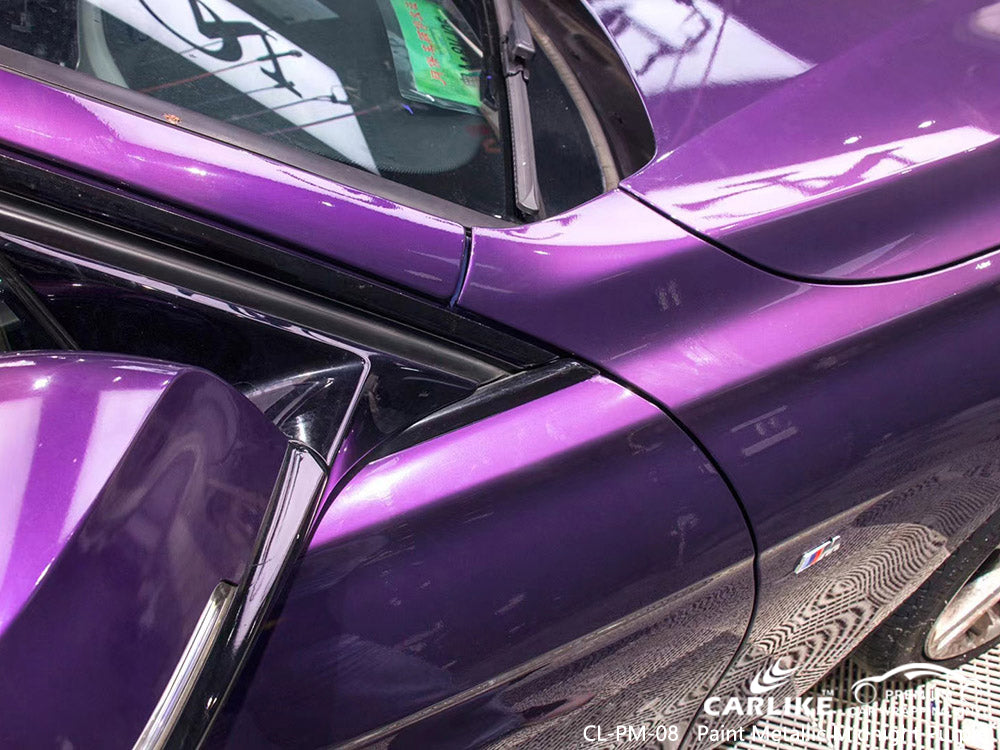
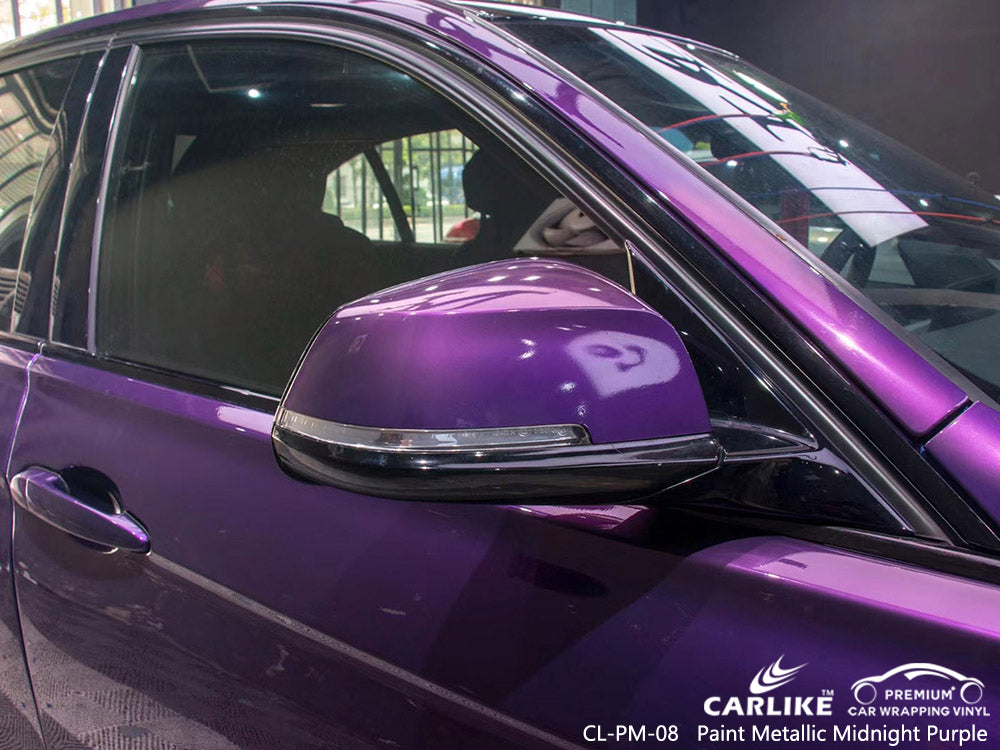
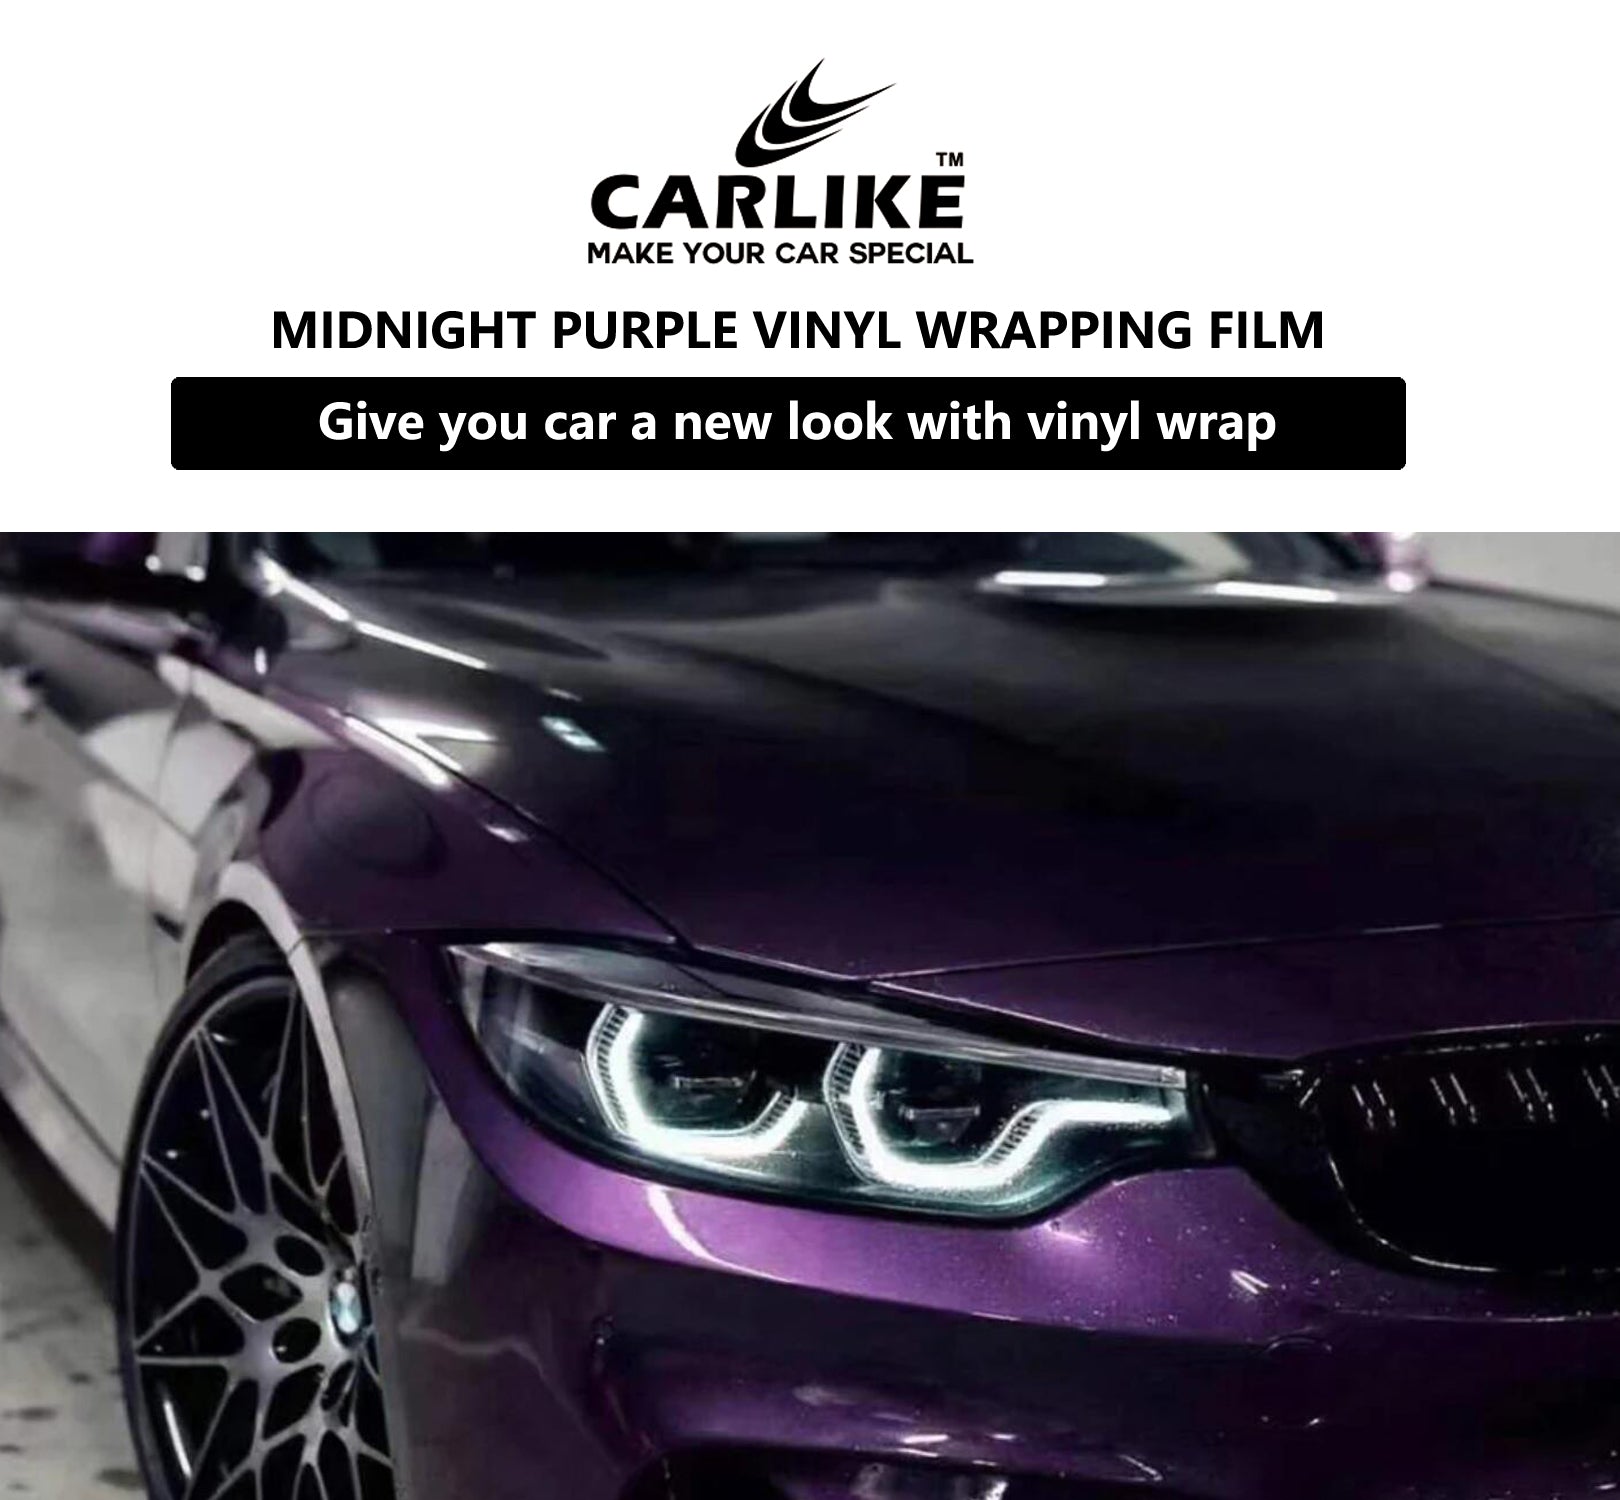
Cars and trucks: Vinyl wraps can completely transform the look of a car or truck, from a simple color change to a custom design.
Boats and watercraft: Vinyl wraps are a popular way to give boats and other watercraft a unique look while also protecting the surface from water damage.
Motorcycles: Motorcycles are another common object that can be wrapped with vinyl, allowing owners to customize the look of their bike.
Business and commercial vehicles: Many businesses use vinyl wraps on their vehicles as a form of advertising, displaying their company logo and contact information.
Walls and floors: Vinyl wraps can also be used to decorate walls and floors, creating custom designs and graphics.
Electronic devices: Vinyl wraps can be used to protect and customize electronic devices such as laptops, smartphones, and gaming consoles.
Ultimately, the possibilities are endless when it comes to what you can wrap with vinyl. Just be sure to choose an object with a smooth and clean surface that will allow the vinyl to adhere properly.
Choose the vinyl wrap design:
Once you've decided what you want to wrap, you'll need to choose the design you want to use. You can work with a designer or create your own design. Many companies that offer vinyl wrap services also have design templates you can choose from.
Choosing the design for your vinyl wrap can be a fun and creative process, but it can also be overwhelming if you're not sure where to start. Here are some tips for choosing a vinyl wrap design:
Consider the purpose: Think about why you want to wrap the object and what message you want to convey. For example, if you're wrapping a commercial vehicle, you'll want to include your company logo and contact information.
Look for inspiration: Browse online galleries, social media, and design websites to get inspiration for your vinyl wrap design. Look for designs that catch your eye or that are similar to what you're looking for.
Work with a designer: If you have a specific design in mind, you can work with a designer to bring your vision to life. They can create a custom design that fits your style and objectives.
Consider the object's shape: Keep in mind the shape of the object you're wrapping, as some designs may look different when applied to a curved or irregular surface.
Keep it simple: Sometimes less is more, especially if you want to convey a clear message or if you're using the vinyl wrap for advertising purposes. A simple design with bold colors and clear text can be more effective than a complex design that's difficult to read or understand.
Get feedback: Once you've narrowed down your design options, get feedback from friends, family, or colleagues to see which design they prefer.
Remember, the design you choose should reflect your personal style, the purpose of the vinyl wrap, and the object you're wrapping. A well-designed vinyl wrap can completely transform the look of your object, so take the time to choose a design that you'll be happy with for years to come.
Get a quote for vinyl wrap:
Contact a vinyl wrap company and provide them with the details of what you want wrapped and the design you've chosen. They'll be able to give you a quote for the job.
To get a quote for a vinyl wrap, you'll need to provide some basic information about the object you want wrapped and the design you want to use. Here are some of the details you should be prepared to provide:
Object type: Tell the vinyl wrap company what type of object you want to wrap, such as a car, truck, boat, or motorcycle.
Object size: Provide the length, width, and height of the object, as well as any unique features that may affect the vinyl wrap installation.
Design specifications: Describe the design you want to use, including any specific colors, images, or text. If you have a design file, you can provide that as well.
Vinyl type: Let the company know what type of vinyl you want to use. There are many different types of vinyl available, each with different properties and costs.
Installation location: Provide the location where the vinyl wrap installation will take place, as this can affect the cost of the job.
Once the vinyl wrap company has this information, they will be able to provide you with a quote for the job. The cost of a vinyl wrap can vary widely depending on the size and complexity of the object, the type of vinyl used, and the design specifications. Be sure to get quotes from multiple companies to compare prices and find the best value for your budget.
Schedule an appointment for vinyl wrap:
If you're happy with the quote, you can schedule an appointment with the vinyl wrap company. They'll usually need your vehicle or object for a few days to complete the wrap.
To schedule an appointment for you to get a vinyl wrap, follow these steps:
Contact the vinyl wrap company: Call or email the company to request an appointment for you to get vinyl wrap. Be sure to provide the details of your vinyl wrap, including the type of object you want to wrap, the design you want to use, and any other specifications.
Provide your availability: Let the company know when you're available for an appointment. Most companies will require that you schedule an appointment in advance, so be sure to provide several options for dates and times that work for you.
Confirm the appointment: Once you've agreed on a date and time for your vinyl wrap, confirm the appointment with the company. They may ask for a deposit or payment in advance to secure your appointment.
Prepare for the appointment: Before your appointment, make sure your object is clean and free of any debris or dirt. This will ensure that the vinyl adheres properly to the surface. You may also need to remove any accessories or parts that could interfere with the installation process.
Attend the appointment: Show up to your appointment on time and ready to have your vinyl wrap installed. The installation process can take several hours or even a full day, depending on the size and complexity of the job.
By following these steps, you can schedule an appointment for you to get vinyl wrap and ensure a smooth and successful installation process.
Prepare the surface before vinyl wrap:
Before the vinyl can be applied, the surface of the object must be cleaned and prepared. This involves removing any dirt, oil, or wax from the surface to ensure the vinyl adheres properly.
Preparing the surface properly is essential to ensure that the vinyl wrap adheres properly and lasts for a long time. Here are the steps to follow to prepare the surface for a vinyl wrap:
Clean the surface: Before applying the vinyl wrap, make sure the surface is clean and free of any debris, dirt, or wax. Use a gentle cleaning solution and a microfiber cloth to wipe down the surface and remove any contaminants. Avoid using harsh chemicals or abrasive materials that could damage the surface.
Remove any accessories: Remove any accessories or parts that could interfere with the vinyl wrap installation, such as badges, emblems, or moldings. This will ensure a smooth and seamless installation and prevent any gaps or bubbles from forming.
Smooth out any imperfections: If there are any scratches, dents, or other imperfections on the surface, use a filler or sandpaper to smooth them out. This will ensure that the vinyl wrap adheres properly and looks smooth and uniform.
Dry the surface: Make sure the surface is completely dry before applying the vinyl wrap. Use a clean microfiber cloth to dry the surface thoroughly and remove any moisture or residue.
Use a surface cleaner: Use a surface cleaner designed specifically for vinyl wraps to remove any remaining residue or contaminants from the surface. This will ensure that the vinyl wrap adheres properly and looks its best.
By following these steps, you can prepare the surface for a vinyl wrap and ensure a smooth and successful installation process. It's important to take the time to prepare the surface properly to ensure that the vinyl wrap lasts for a long time and looks great.
Apply the vinyl:
Once the surface is prepared, the vinyl can be applied. This is typically done in large sections and requires a team of professionals to ensure the vinyl is applied smoothly and without any air bubbles.
Applying a vinyl wrap can be a bit challenging but can be done by following these steps:
Clean the surface: Clean the surface that you are going to apply the vinyl wrap to with soap and water, then use rubbing alcohol to remove any remaining residue or contaminants. Allow the surface to dry completely.
Measure and cut the vinyl wrap: Measure the surface that you want to wrap and cut the vinyl wrap to size, leaving a few inches of excess material around the edges.
Peel off the backing: Carefully peel off the backing of the vinyl wrap, starting at one corner. Be sure to keep the vinyl smooth and avoid creating any creases or wrinkles.
Apply the vinyl wrap: Apply the vinyl wrap to the surface, starting at one end and working your way to the other end. Use a squeegee or a credit card to smooth out any bubbles or wrinkles as you go.
Cut away excess vinyl: Once the vinyl wrap is applied, use a sharp knife to carefully trim away any excess vinyl along the edges.
Heat and stretch: If necessary, use a heat gun to gently heat and stretch the vinyl wrap around curves or corners.
Finish up: Finally, use a squeegee or a soft cloth to smooth out any remaining bubbles or wrinkles. Congratulations, you have successfully applied a vinyl wrap!
Trim and finish:
After the vinyl is applied, it will be trimmed to fit the object and any necessary finishing touches will be added.
Once you have applied a vinyl wrap, you will need to trim away any excess material and finish the edges for a clean and professional look. Here are the steps you should follow:
Trim the excess vinyl: Use a sharp knife or razor blade to carefully trim away any excess vinyl from the edges of the surface you wrapped. Be sure to make clean and precise cuts to avoid damaging the vinyl.
Tuck in the edges: For surfaces with sharp edges or corners, you may need to tuck the vinyl wrap under the edge for a neat and seamless look. Use a squeegee or your fingers to carefully tuck in the vinyl.
Finish the edges: There are a few ways to finish the edges of a vinyl wrap, depending on the desired look. One popular method is to use a heat gun to gently heat the vinyl along the edge and then use a squeegee to press it down firmly. This will create a smooth and seamless edge.
Seal the edges: For added durability and protection, you may want to seal the edges of the vinyl wrap with a clear sealant. This will help prevent the edges from lifting or peeling over time.
Overall, taking your time and being meticulous in trimming and finishing the edges of your vinyl wrap will help ensure a professional and long-lasting result.
Pick up your wrapped object:
Finally, you can pick up your wrapped object and enjoy your new look!
If you have just finished wrapping an object with vinyl, here are some steps you can follow to safely pick it up:
Allow the vinyl wrap to dry: Depending on the type of vinyl wrap and the conditions you applied it in, it may need some time to dry and fully adhere to the object. Check the manufacturer's instructions for recommended drying time.
Check the adhesion: Before picking up the wrapped object, inspect the vinyl to ensure that it is fully adhered and there are no bubbles or wrinkles. If you notice any areas where the vinyl has lifted or is not adhered well, you may need to use a heat gun or apply pressure to re-seal those areas.
Use gloves: Wear gloves to protect your hands from any sharp edges or corners of the object you are wrapping. Additionally, gloves will help prevent any oils or dirt on your hands from transferring onto the vinyl.
Lift with care: When lifting the wrapped object, be sure to lift from the bottom and use two hands to evenly distribute the weight. Avoid placing pressure on any one area or lifting by the edges, as this may cause the vinyl to lift or peel.
Transport with care: Once you have lifted the wrapped object, be sure to transport it carefully and avoid bumping or scraping it against other objects.
Overall, taking your time and being careful when picking up and transporting your wrapped object will help ensure that the vinyl wrap stays in place and looks great.
Final Words:
Note that the exact process may vary depending on the specific company you work with and the object you're wrapping. Be sure to ask your chosen company for their specific process and any requirements they have.