CARLIKE-Make Your Car Special.
Introduction
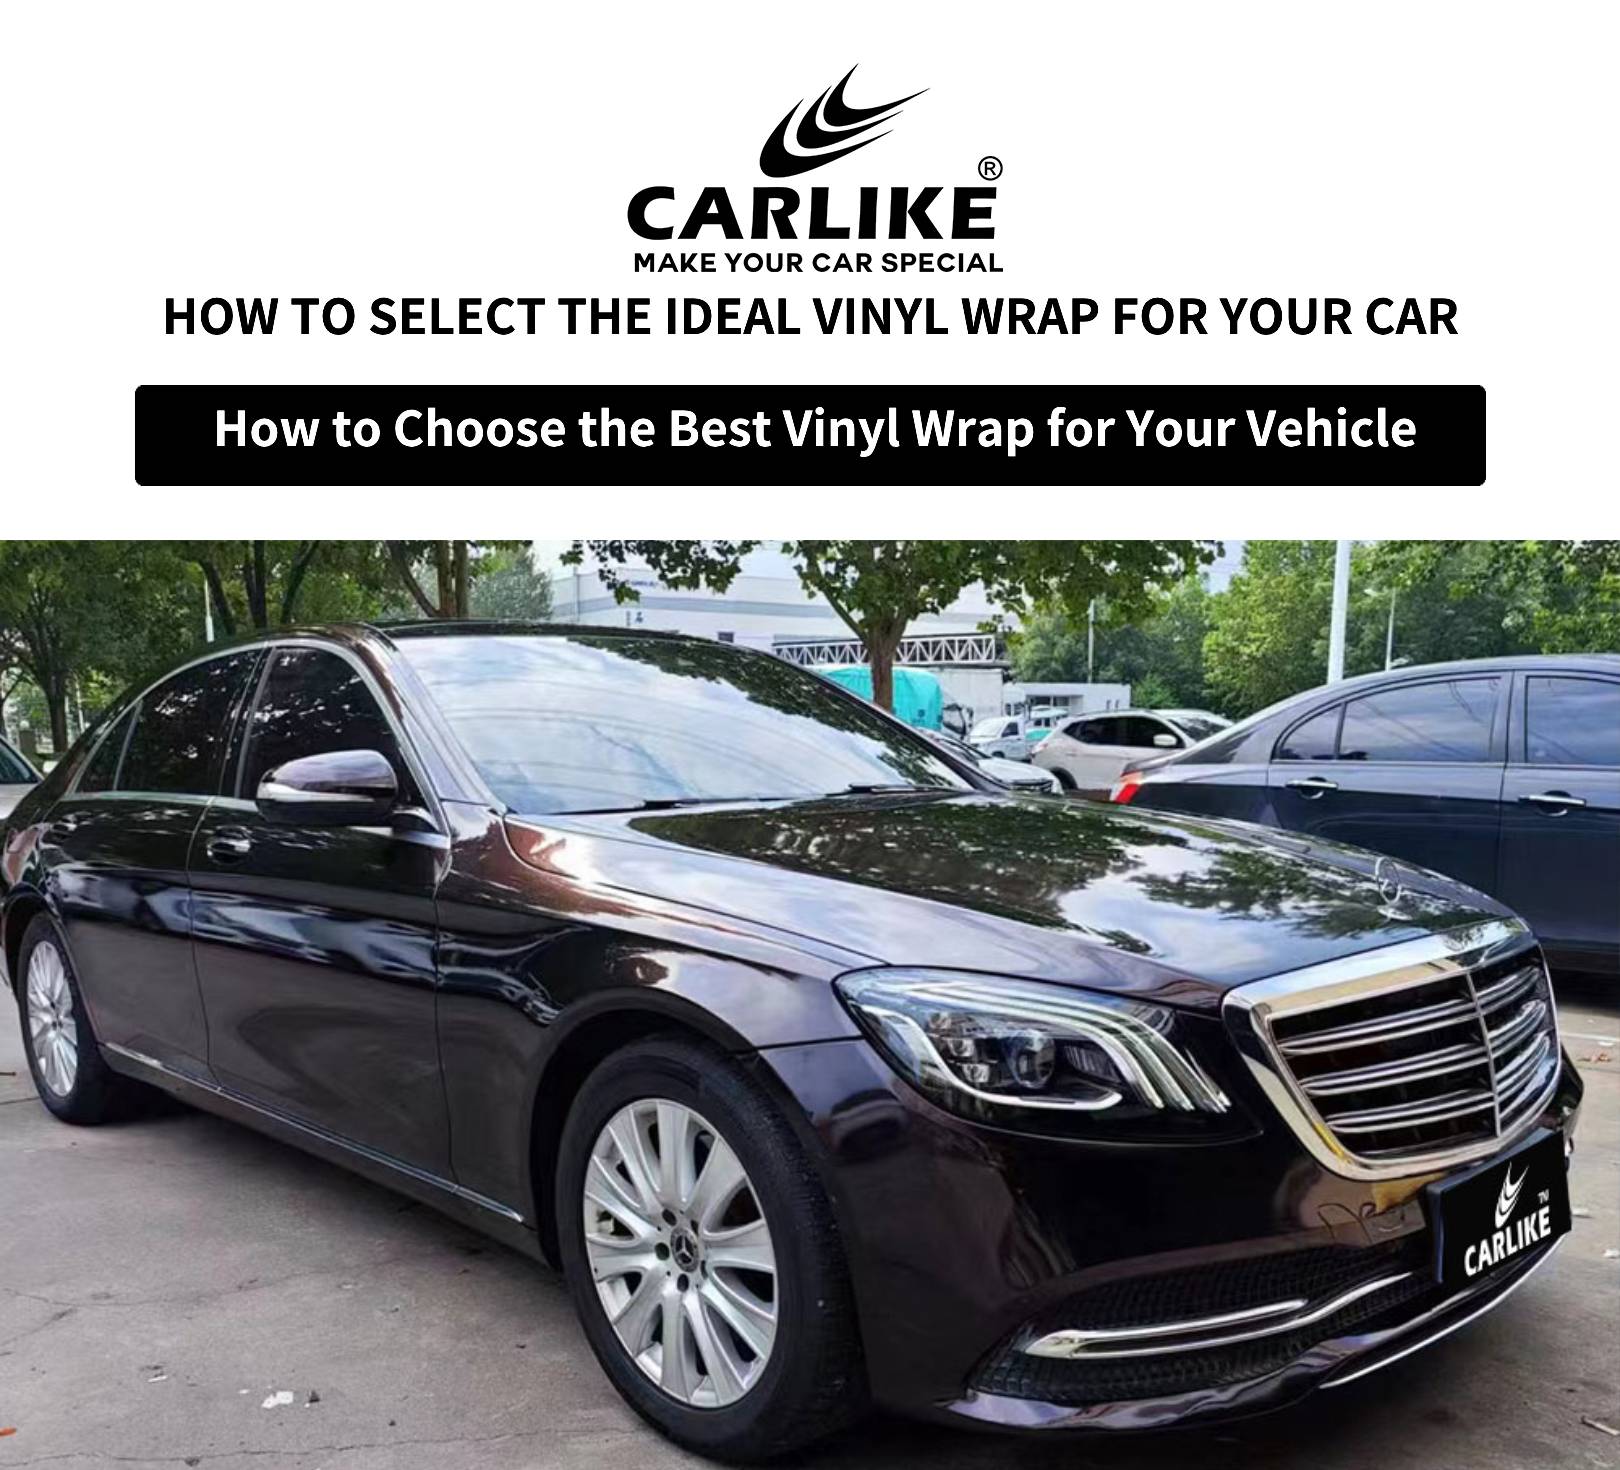
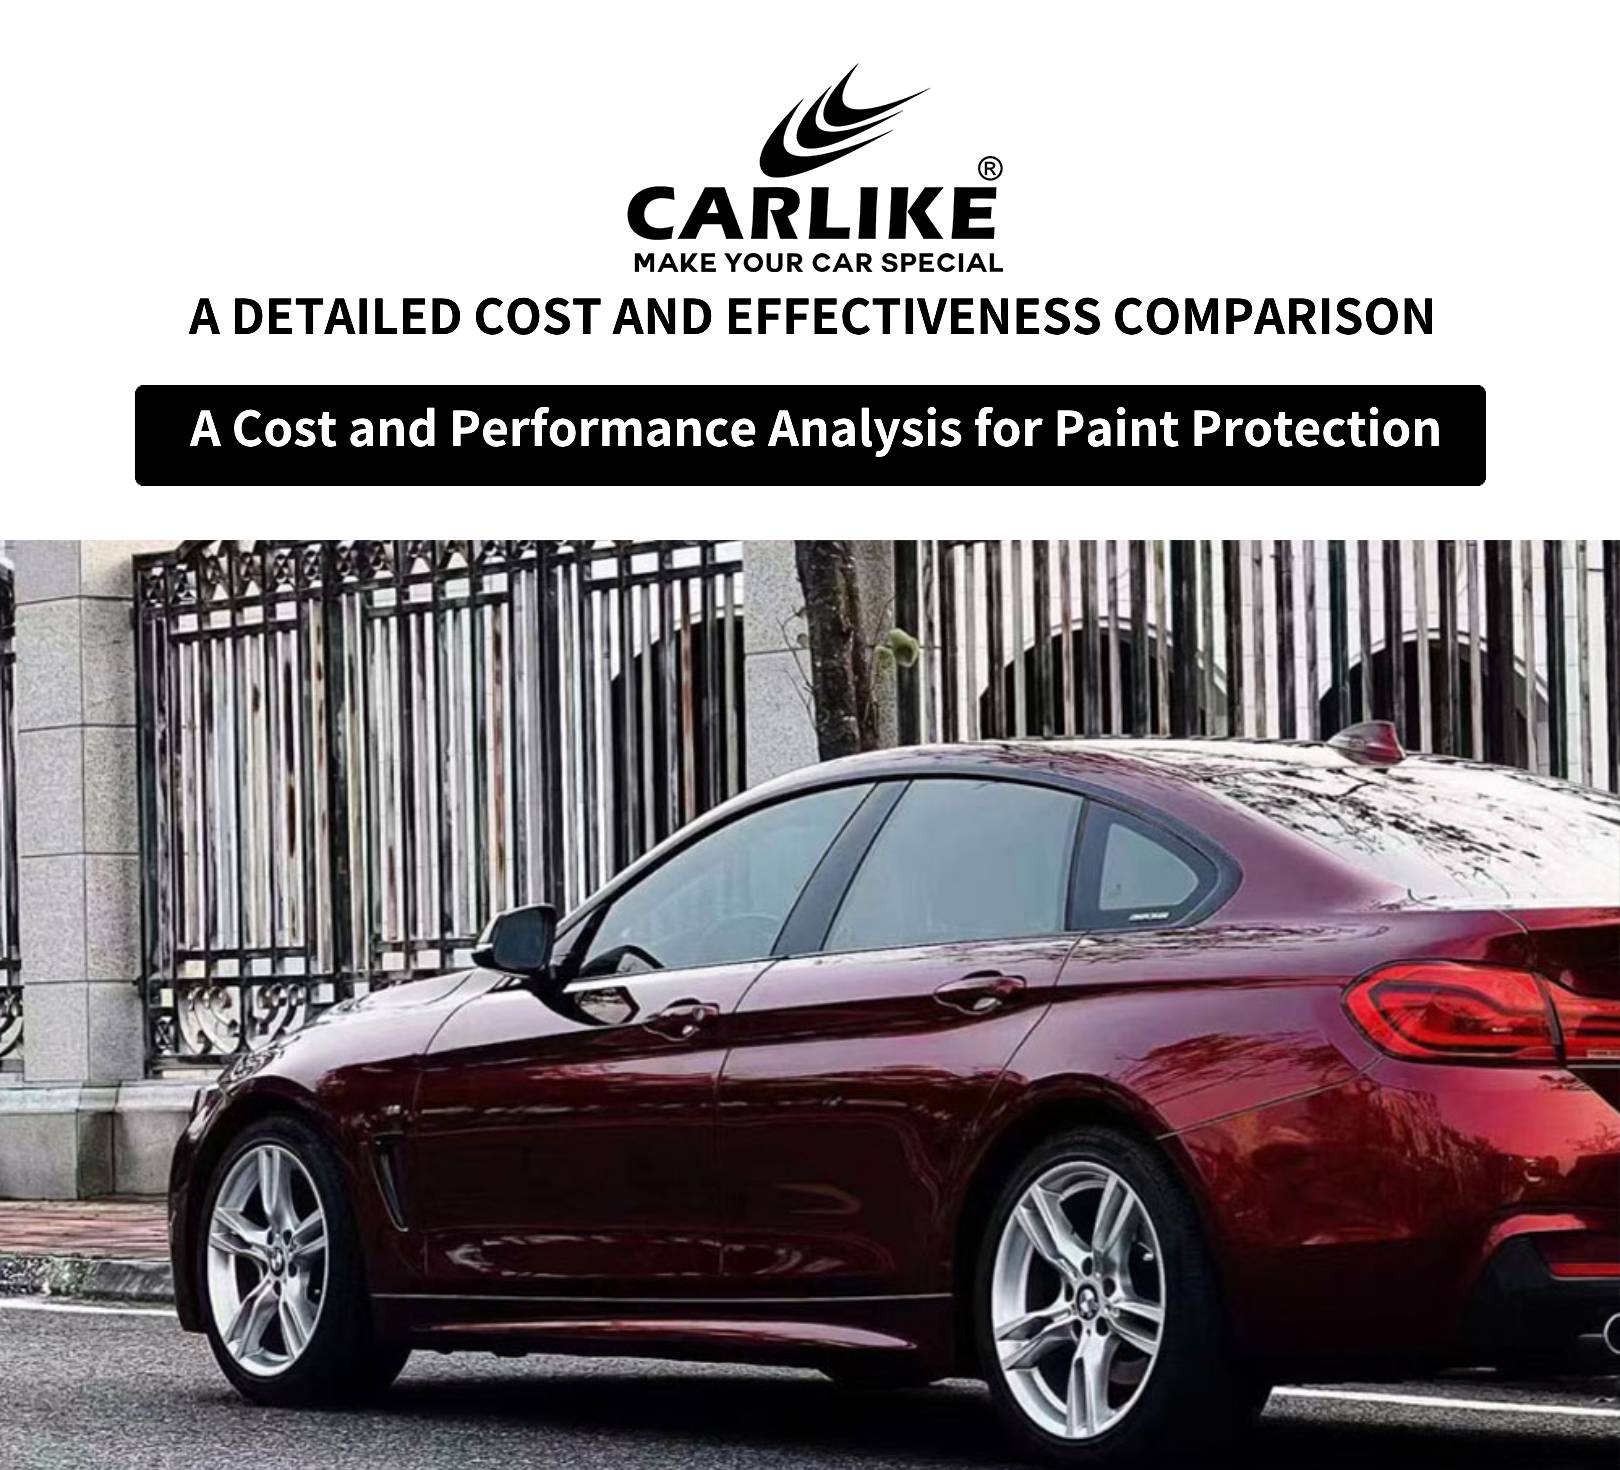
Paint Protection Film (PPF) is a transparent, thermoplastic urethane film applied to the exterior surfaces of a vehicle to protect the paint from damage such as scratches, chips, and stains caused by road debris, UV rays, and environmental contaminants. The benefits of PPF include preserving the vehicle's appearance, maintaining its resale value, and providing an added layer of protection against minor abrasions and weathering.
The article will compare the costs and considerations of professional versus DIY PPF installation, providing insights into the financial implications, quality of results, and factors such as skill level, time investment, and access to tools and materials. This comparison will help readers decide the best approach for their needs and budget when considering PPF for their vehicle.
Professional PPF Installation
Cost Breakdow
Typical Costs
- 1. Basic Tinting: $100 to $200 - This price range typically covers the most basic film and a standard installation for a smaller vehicle, such as a sedan.
- 2. Mid-Range Tinting: $200 to $500This includes higher quality films, possibly with additional features such as UV protection or heat reduction. The price can vary based on the size of the vehicle and the number of windows being tinted.
- 3. High-End Tinting: $500 to $800+This range is for premium films, such as ceramic or infrared-rejection films, and professional installation on larger vehicles or more complex jobs.
Factors Influencing Costs
- 1. Type of VehicleSize and Number of Windows: Larger vehicles like SUVs or vans have more windows and surface area to cover, which increases the cost.Window Shape and Curvature: Complex shapes and curves can make the installation more labor-intensive and expensive.
- 2. Film QualityBasic Dyed Films: Less expensive but offer minimal heat rejection and UV protection.Metallic and Hybrid Films: Mid-range cost with better performance in terms of durability and heat rejection.Ceramic and Infrared-Rejection Films: Most expensive, offering superior heat rejection, clarity, and longevity.
- 3. Installer ReputationExperience and Certification: Installers with extensive experience or certification (e.g., from manufacturers or trade associations) may charge higher rates due to their expertise and the quality assurance they provide.Warranty: Reputable installers often offer warranties on their work, which can add to the cost but provide peace of mind.

pros and cons of Professional PPF Installation.
Pros:
- 1. Expertise and Skill: Professional installers have the expertise and experience to apply PPF accurately, ensuring a seamless finish without bubbles or imperfections.
- 2. Quality Materials: Professionals often use high-quality PPF materials that provide better protection and longevity compared to cheaper, generic films.
- 3. Warranty: Many professional PPF services offer warranties on their work, providing peace of mind that any issues will be addressed.
- 4. Precision Tools and Techniques: Professionals use specialized tools and techniques to cut and apply the film precisely to fit the contours of your vehicle.
- 5. Time Efficiency: Professional installation is typically faster than a DIY job, allowing you to get back on the road sooner with a fully protected vehicle.
Cons:
- 1. Cost: Professional installation can be significantly more expensive than DIY options due to labor and high-quality materials.
- 2. Availability: Depending on your location, finding a reputable PPF installer may be challenging, requiring travel or waiting for an appointment.
- 3. Dependency on Skill Level: The quality of the installation heavily depends on the skill and experience of the installer. Poor workmanship can lead to suboptimal protection and appearance.
- 4. Potential for Miscommunication: Misunderstandings about specific requirements or expectations can lead to dissatisfaction with the final result, necessitating rework or adjustments.
Factors to Consider When Choosing Between Professional and DIY
1. Skill Level
- Self-Assessment: Evaluate your ability to handle detailed, intricate work. PPF installation requires precision, patience, and a steady hand.
- Experience: Consider if you have prior experience with similar projects or if you're comfortable learning new skills through practice or tutorials.
2. Budget
- Cost of Professional Installation: Get quotes from professional installers to understand the full cost, which includes materials, labor, and possibly warranty.
- DIY Costs: Compare the cost of purchasing the PPF kit, necessary tools, and any additional materials required for a DIY installation. Factor in potential costs for mistakes or redoing parts of the job.
3. Time
- Availability: Reflect on how much time you can realistically allocate to the project. Professional installation is typically quicker, whereas DIY might require more time, especially if it’s your first attempt.
- Learning Curve: Account for the time needed to research, learn techniques, and practice before the actual installation.
4. Quality Expectations
- Finish Quality: Decide how critical the quality and finish of the installation are to you. Professionals typically deliver a higher quality finish with fewer imperfections.
- Imperfections Tolerance: Consider if you can accept minor imperfections that might result from a DIY installation.
5. Warranty and Support
- Professional Warranty: Professionals often provide warranties on their work, which can cover defects or issues that arise post-installation.
- DIY Support: Check if the PPF manufacturer offers support or guarantees for DIY installations. Some may offer limited warranties or support only when installed by certified professionals.
CARLIKE-Make Your Car Special.
Additional Tips
Tips for Choosing a Professional Installe
1. Credentials and Certification
- Certification: Look for installers who are certified by recognized organizations, such as the Professional Automotive Film Association (PAFA) or the International Window Film Association (IWFA).
- Training: Ensure they have received formal training from reputable manufacturers or institutions.
2. Experience
- Portfolio: Ask to see a portfolio of previous work to assess the quality and variety of their installations.
- Years in Business: Prefer installers with several years of experience in automotive wraps and color change films.
3. Reviews and References
- Online Reviews: Check reviews on Google, Yelp, or specialized automotive forums to get an idea of their reputation.
- References: Ask for references from past clients to hear directly about their experiences.
4. Warranty and Guarantees
- Warranty: Ensure they offer a warranty on their work. This can indicate confidence in their craftsmanship and the materials they use.
- Aftercare Support: Ask if they provide aftercare support in case of issues post-installation.
5. Professionalism and Customer Service
- Consultation: A good installer should offer a detailed consultation to discuss your needs and preferences.
- Clear Estimates: They should provide a clear and detailed estimate, including all costs and potential additional charges.
Tips for Successful DIY Installation
1. Preparation
- Clean Surface: Thoroughly clean the vehicle to remove all dirt, grease, and contaminants. Use isopropyl alcohol for a final wipe-down.
- Workspace: Ensure you have a clean, dust-free, and well-lit workspace. Ideally, work in a garage or enclosed area.
2. Materials and Tools
- Quality Film: Purchase high-quality automotive wrap film from reputable brands like 3M, Avery Dennison, or Oracal.
- Tools: Invest in proper tools, including a squeegee, heat gun, cutting blade, and application gloves.
3. Resources and Guidance
- Instructional Videos: Watch detailed instructional videos and tutorials specific to the film you are using. Many manufacturers provide step-by-step guides.
- Practice: Consider practicing on smaller, less noticeable areas first to get a feel for the material and techniques.
4. Application Techniques
- Heat Application: Use a heat gun to make the film more pliable, especially around curves and edges. Be careful not to overheat and damage the film.Stretching and Smoothing: Stretch the film gently and evenly. Use the squeegee to smooth out air bubbles and wrinkles as you go.
- Overlap and Edges: Ensure proper overlap at seams and edges. Use the cutting blade to trim excess film carefully.
5. Common Pitfalls to Avoid
- Rushing: Take your time. Rushing can lead to mistakes and poor results.Inadequate Cleaning: Any dirt or residue left on the car surface can cause bubbles and poor adhesion.
- Incorrect Cutting: Be precise with your cuts to avoid gaps or overhangs that can peel over time.