Introduction to DIY vs. Professional Installation of car wraps
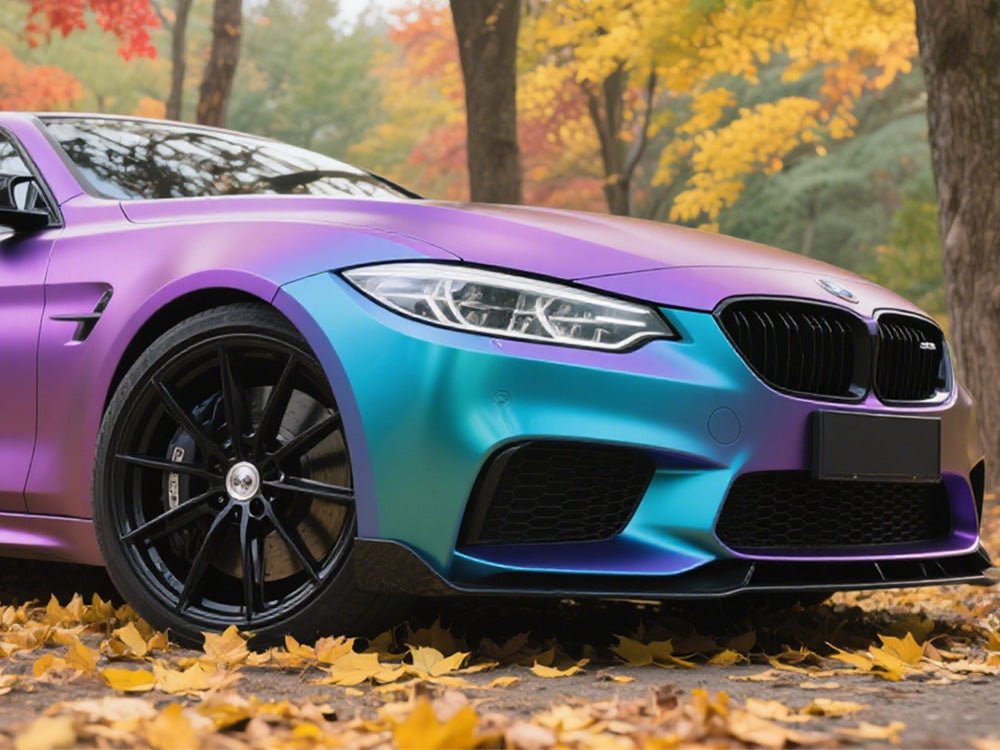
Car wraps have become a popular choice for vehicle customization, offering aesthetic appeal, paint protection, and even advertising opportunities. When it comes to installation, car owners face a crucial decision: should they attempt a DIY (do-it-yourself) installation or hire a professional? Both options have their pros and cons. DIY installation may seem like a cost-effective approach, especially for those with basic skills and access to the right tools. However, it requires patience, precision, and knowledge of proper techniques. On the other hand, professional installation offers expert craftsmanship, ensuring a flawless finish and reducing the risk of costly mistakes. Understanding the key differences between these two methods is essential before making a decision.
ABOUT CARLIKE WRAP
CARLIKE® launched in 2012, mainly focus on premium car wrapping vinyls, with rich colors and stylish designs. High performance with economic price is always the persuit of CARLIKE®.
CARLIKE-Make Your Car Special.
Want to know more? Visit our store.


ABOUT CARLIKE WRAP
CARLIKE-Make Your Car Special.
Importance of Proper Installation
Proper installation is vital for maximizing the performance, appearance, and lifespan of a car wrap. Here’s why it matters:
-
Seamless Finish
- Proper installation ensures a smooth, bubble-free, and wrinkle-free surface. An uneven application can result in unsightly imperfections, reducing the visual appeal of the wrap.
- Professionals have the experience and tools to apply heat, stretch the film, and align the wrap with precision, achieving a sleek, factory-like finish.
-
Durability and Longevity
- A correctly installed car wrap is less likely to peel, lift, or crack, even when exposed to extreme weather conditions or frequent car washes.
- Proper adhesion prevents water, dirt, and debris from getting trapped beneath the film, which could weaken the adhesive over time.
-
Paint Protection
- One of the primary purposes of a car wrap is to protect the vehicle's original paint. Improper installation can leave areas exposed, defeating this purpose.
- Correct installation ensures full coverage, reducing the risk of scratches, UV damage, and environmental wear.
-
Cost-Effectiveness
- A poorly installed wrap may require costly repairs or a complete reinstallation, adding to the overall expense.
- Investing in proper installation from the start can save time, money, and frustration in the long run.
-
Professional Aesthetics
- DIY mistakes, such as misaligned panels or air bubbles, can make the wrap look unprofessional.
- Proper installation guarantees a flawless appearance, especially when dealing with complex designs, custom graphics, or textured finishes like carbon fiber, matte, or satin.
-
Warranty and Guarantee
- Many professional installers offer warranties on their work, ensuring customers receive support if issues arise. DIY installations, on the other hand, typically come with no guarantee.
- Manufacturer warranties for car wrap films may be voided if the installation is done improperly.
Proper installation is the difference between a sleek, head-turning vehicle and a wrap that looks rushed or poorly executed. For those who prioritize perfection and long-term durability, professional installation is often the preferred choice. However, DIY enthusiasts with patience, skills, and the right tools can achieve impressive results with careful attention to detail.
Pre-Installation Preparation
Proper preparation is essential for a successful car wrap installation. Below is a detailed guide on the key steps involved in the process, including the tools and materials required, as well as how to clean and prepare the surface.
1. Tools and Materials Required
To achieve a smooth and professional-looking car wrap, you’ll need to have the following tools and materials ready:
Essential Tools:
- Vinyl wrap film : The primary material, available in various colors, finishes, and textures.
- Heat gun : Helps to stretch, mold, and set the vinyl film.
- Squeegee : Used to smooth out air bubbles and ensure proper adhesion.
- Precision cutting knife (e.g., X-Acto knife) : For cutting vinyl accurately and trimming around edges.
- Gloves (preferably lint-free) : Protects the film from fingerprints and keeps your hands clean.
- Measuring tape : To measure the exact dimensions of the vehicle and vinyl film.
- Felt edge scraper : Prevents scratches when smoothing the vinyl on the surface.
- Masking tape : Used to mark the areas where cuts will be made.
- Magnets or tape : Helps hold the vinyl in place while aligning it on the car.
- Spray bottle with water and soap : Useful for cleaning the car's surface before installation.
Additional Supplies:
- Isopropyl alcohol (at least 70%) : Cleans off grease, wax, and other contaminants.
- Microfiber cloths : Soft cloths for cleaning and drying surfaces.
- Panel tucking tools : Helps with tucking vinyl into seams and tight areas.
- Infrared thermometer (optional) : To ensure the vinyl reaches the right temperature during application.
2. Cleaning and Surface Preparation
A clean, smooth surface is crucial for proper vinyl adhesion. Any dirt, grease, or residue can cause bubbling, lifting, or wrinkles. Follow these steps to prepare your vehicle’s surface:
Step 1: Wash the Vehicle
- Thorough Cleaning : Wash the entire vehicle using car shampoo and water to remove dirt, grime, and grease. Pay special attention to crevices, door handles, mirrors, and edges where dirt tends to accumulate.
- Rinse and Dry : Rinse off all soap thoroughly, and use a microfiber cloth to dry the surface. Let the car air dry to ensure there’s no lingering moisture.
Step 2: Degrease the Surface
- Apply Isopropyl Alcohol : Dampen a microfiber cloth with isopropyl alcohol and wipe down the entire surface, especially the curves and edges. This removes wax, grease, and other contaminants that might prevent the vinyl from adhering properly.
- Check for Residue : Run your hand over the surface to ensure it feels smooth and free of any sticky residue.
Step 3: Remove Any Accessories and Obstructions
- Remove Handles, Badges, and Trim : If possible, remove or loosen door handles, badges, and trim pieces. This makes it easier to wrap around these areas and avoids unnecessary cuts.
- Cover or Tape Delicate Areas : Use masking tape to protect delicate areas like rubber seals or plastic parts that you do not want to wrap.
Step 4: Inspect for Imperfections
- Check for Scratches, Dents, and Bumps : Imperfections on the surface will be visible through the vinyl wrap. Fix any dents or deep scratches before wrapping.
- Smooth Out Rough Surfaces : Sand down rough areas, if necessary, to achieve a smooth, even finish.
3. Surface Testing
Before starting the installation, test a small piece of vinyl on an inconspicuous area. This ensures the surface is properly prepared and identifies any issues with adhesion.
- Adhesion Test : Apply a small strip of vinyl, heat it with the heat gun, and check if it sticks properly.
- Re-clean if Necessary : If the vinyl doesn’t stick, repeat the cleaning and degreasing process.
4. Layout and Alignment
- Measure the Vehicle : Measure the dimensions of each section (hood, doors, roof, etc.) to ensure you have enough vinyl.
- Pre-Cut Vinyl : Cut the vinyl slightly larger than the section it will cover to allow for adjustments during the application.
- Mark Reference Points : Use masking tape to mark key points where the vinyl should align. This ensures precision placement.
By following these steps, you’ll have a clean, well-prepared surface ready for car wrap installation. Proper preparation ensures strong adhesion, prevents wrinkles or bubbles, and helps your wrap last longer. Let me know if you'd like a detailed guide on the actual wrapping process!


Step-by-Step Installation Process
1. Measuring and Cutting the Vinyl
- Clean the Vehicle : Wash the car thoroughly to remove dirt, dust, and debris. Use a degreaser to eliminate any oils or waxes.
- Measure the Surface Area : Use a measuring tape to determine the dimensions of the areas you plan to wrap. Account for extra vinyl to cover curves, edges, and mistakes.
- Cut the Vinyl : Roll out the vinyl on a clean, flat surface. Cut it into manageable sections based on your measurements, ensuring extra material for each piece.
- Pre-fit the Vinyl : Place the cut vinyl loosely on the car to check for fit. Adjust as necessary and trim any large excess areas, but leave enough for edge work later.
2. Application Techniques
- Position the Vinyl : Peel off the backing paper from the vinyl and lightly position it over the surface, ensuring it aligns with the section you’re working on.
-
Apply with a Squeegee:
- Start from the center and work outward, pressing the vinyl onto the surface with a squeegee.
- Use overlapping strokes to avoid air bubbles or wrinkles.
-
Use a Heat Gun:
- Gently heat the vinyl to make it more pliable, especially on curves, edges, and complex contours.
- Stretch the vinyl as needed, but avoid overstretching, as it could distort the color or pattern.
-
Smooth the Vinyl:
- Continue smoothing the vinyl with the squeegee while applying moderate pressure.
- Reheat areas that need adjustment to maintain a smooth, wrinkle-free surface.
3. Trimming and Sealing the Edges
-
Trim Excess Vinyl:
- Use a sharp precision knife to trim away excess vinyl along the edges, door seams, and other borders.
- Leave about ¼ inch of excess vinyl to wrap around the edge of panels for a cleaner, long-lasting finish.
-
Seal the Edges:
- Heat the edges with a heat gun to make the adhesive stronger and ensure a firm bond.
- Use the squeegee to press down and secure the edges to prevent peeling or lifting.
-
Inspect for Bubbles and Imperfections:
- Check for any trapped air bubbles or creases.
- If you spot small air bubbles, use a pin to puncture them and smooth the area with a squeegee.
-
Post-Heat the Vinyl:
- Reheat the vinyl across the entire surface at a consistent temperature (around 180°F to 200°F) to "lock in" the shape.
- This step strengthens the adhesive bond, ensuring the vinyl stays in place long-term.


"CARLIKE-Make Your Car Special."
Post-Installation Care
1. Allow Time for Adhesive Bonding
- Curing Period : After installation, it’s crucial to let the adhesive bond properly with the car’s surface. This process typically takes 24 to 48 hours but may vary based on weather conditions and wrap material.
- Avoid Water Exposure : Do not wash the car or expose it to rain during this bonding period to prevent moisture from interfering with the adhesive.
- Avoid High Speeds and Strong Winds : During the first few days, avoid driving at high speeds to prevent wind force from lifting the edges of the wrap.
2. Cleaning and Maintenance Tips
- Hand Washing : Hand wash the car using a mild detergent and a soft sponge or cloth. Avoid abrasive brushes or rough materials.
- Frequency : Wash your car every 2-3 weeks to prevent dirt and debris from building up on the wrap.
- Avoid High-Pressure Washes : Do not use high-pressure washers, as they can peel the edges of the wrap. If necessary, keep the pressure below 2000 psi and use a 12-inch distance from the surface.
- Drying : After washing, use a microfiber cloth to dry the surface. Letting water air-dry may leave behind water spots.
3. Protecting the Wrap from Environmental Damage
- UV Protection : Prolonged exposure to sunlight can fade the color of the wrap. Use a UV protectant spray or park in shaded areas or garages.
- Avoid Harsh Chemicals : Do not use solvent-based cleaners, strong detergents, or waxes containing petroleum.
- Bird Droppings and Tree Sap : Clean these off as soon as possible, as they can stain or degrade the wrap.
4. Routine Inspections and Edge Care
- Check for Lifting Edges : Periodically inspect the edges of the wrap. If you see lifting, reapply gentle pressure or seek professional assistance.
- Seal the Edges : Some professionals apply edge sealers to prevent moisture from getting under the wrap. This adds an extra layer of protection.
5. Temperature and Weather Considerations
- Extreme Heat : Prolonged exposure to intense heat can cause the vinyl to warp or bubble. Park in shaded areas when possible.
- Cold Weather Precautions : If you live in a colder climate, avoid scraping ice or snow from the wrap’s surface as it can scratch or lift the film. Use a soft cloth or non-abrasive scraper instead.
6. Waxing and Polishing
- Avoid Traditional Wax : Do not use traditional car wax on vinyl wraps. Instead, use wrap-safe polish or sealants.
- Wrap Sealant : Some manufacturers recommend specialized sealants or protectants to maintain the glossy finish of certain wrap types (like gloss, matte, or satin finishes).
7. Storage and Parking Tips
- Garage Parking : Park indoors or under a covered area whenever possible to shield the wrap from UV rays, rain, and debris.
- Avoid Long-Term Exposure : If you must leave the vehicle parked for long periods, consider using a car cover designed for vinyl wraps to protect against dust and weather elements.