Benefits of Vinyl Wrapping for Car Interiors
1. Customization Options
- Vinyl wrapping provides a wide range of colors, patterns, and finishes, allowing car owners to achieve a truly personalized look for their vehicle's interior.
2. Cost-Effectiveness Compared to Traditional Upholstery
- Traditional upholstery can be a costly endeavor, involving the removal of existing materials, custom fabrications, and professional installation. Vinyl wrapping, on the other hand, offers a more budget-friendly alternative without compromising on quality or aesthetics.
3. Durability and Longevity
- High-quality vinyl wraps are designed to withstand the rigors of daily use.
4. Easy Maintenance and Cleaning
- Vinyl wraps are incredibly easy to clean and maintain. Unlike traditional fabrics or leather, vinyl is resistant to stains and spills. Regular cleaning can be accomplished with mild soap and water, making it a hassle-free option for busy car owners.
5. Protection for Original Surfaces
- Vinyl wraps act as a protective layer for the original interior surfaces of the car.
6. Versatility in Application
- Vinyl wraps can be applied to various interior surfaces, including dashboards, door panels, center consoles, and even seats.
7. Quick Installation Process
- Compared to the time-consuming process of reupholstering or replacing interior components, vinyl wrapping offers a much quicker installation.
8. Reversible and Non-Permanent
- Unlike permanent modifications to the car's interior, vinyl wrapping is a reversible process. If you decide to change the look or return the car to its original state, the vinyl can be safely removed without causing damage to the underlying surfaces.
9. Eco-Friendly Option
- Opting for vinyl wraps can be a more environmentally conscious choice.


Popular Vinyl Wrap Materials for Car Interiors
Here are some of the most commonly used materials:
1. Carbon Fiber Vinyl
- Appearance: Mimics the look of real carbon fiber, providing a sleek and modern aesthetic.
- Benefits: Lightweight, durable, and adds a high-end, sporty look to the interior.
2. Leatherette Vinyl
- Appearance: Resembles genuine leather, offering a luxurious and premium feel.
- Benefits: More affordable than real leather, easy to clean, and durable.
3. Matte Vinyl
- Appearance: Provides a flat, non-reflective finish, creating a sophisticated and understated look.
- Benefits: Hides imperfections well, easy to maintain, and offers a unique, modern appearance.
4. Gloss Vinyl
- Appearance: Offers a shiny, reflective finish for a polished and eye-catching appearance.
- Benefits: Enhances the visual appeal of the interior, easy to clean, and provides a sleek finish.
5. Satin Vinyl
- Appearance: A middle ground between matte and gloss, offering a subtle sheen for a refined look.
- Benefits: Balances between a sophisticated appearance and ease of maintenance.

6. Brushed Aluminum Vinyl
- Appearance: Emulates the look of brushed aluminum, providing a contemporary and industrial aesthetic.
- Benefits: Adds a unique texture, is durable, and resistant to wear and tear.
7. Wood Grain Vinyl
- Appearance: Replicates the look of natural wood, giving a classic and elegant feel to the interior.
- Benefits: Offers a warm and inviting ambiance, easy to clean, and provides a timeless look.
8. Chrome Vinyl
- Appearance: Provides a highly reflective and metallic finish for a bold and attention-grabbing look.
- Benefits: Creates a high-impact, futuristic appearance, and is available in various colors.
9. Reflective Vinyl
- Appearance: Features a reflective surface that can enhance visibility in low-light conditions.
- Benefits: Improves safety, especially on certain parts of the interior like door panels or trims.
10. Velvet or Suede Vinyl
- Appearance: Offers a soft, tactile feel similar to velvet or suede fabric.
- Benefits: Adds a plush, luxurious feel to the interior, creating a high-end ambiance.
Tools You Needed for Vinyl Wrapping
Here is a list of tools you'll need:
1. Squeegee: A squeegee helps smooth out the vinyl and remove air bubbles during the application process.
2. Heat Gun or Hair Dryer: This is used to soften the vinyl, making it more pliable and allowing it to conform to the curves and contours of the car's interior.
3. Knife or Precision Cutter: A sharp knife or precision cutter is necessary for cutting the vinyl to the right size and shape.
4. Adhesive Promoter: This is a primer that helps the vinyl adhere better to the surface.
5. Cleaning Supplies: Before applying the vinyl, you'll need to thoroughly clean and prepare the surface.
6. Measuring Tape or Ruler: Precise measurements are crucial for ensuring the vinyl fits accurately.
7. Gloves: Wearing gloves helps prevent fingerprints and oils from transferring onto the vinyl during application.
8. Masking Tape or Painter's Tape: This can be used to hold the vinyl in place temporarily while you work on positioning it correctly.
9. Drop Cloth or Plastic Sheeting: This will help protect the surrounding area from any adhesive residue or accidental cuts.
10. Spray Bottle with Soapy Water: A mixture of water and a few drops of dish soap can be used to create a solution that allows you to slide and adjust the vinyl before it fully adheres.
11. Lubricant or Vinyl Application Gel (Optional): Some installers use a lubricant or gel to help position the vinyl without it sticking prematurely.
12. Edge Sealer (Optional): This helps seal the edges of the vinyl, preventing them from lifting over time.
13. Respirator or Mask (for safety): When cutting or heating the vinyl, it's a good idea to wear a mask to protect yourself from any fumes or particles.
Always follow safety guidelines and manufacturer instructions when using these tools.
Steps to Vinyl Wrap a Car Interior
Here are the steps to vinyl wrap a car interior, including surface preparation, choosing the right vinyl, and application techniques:
Step 1: Surface Preparation
Before you begin the vinyl wrapping process, it's crucial to ensure that the car's interior surfaces are clean, smooth, and free from any debris or contaminants. Follow these steps for proper surface preparation:
1. Gather Your Supplies:
- Cleaning solution (alcohol-based cleaner is recommended)
- Microfiber cloths
- Masking tape
- Heat gun (optional)
- Utility knife or precision cutting tool
2. Clean the Surfaces:
- Start by thoroughly cleaning the interior surfaces you plan to wrap. Use an alcohol-based cleaner to remove dirt, grease, and any residue.
3. Remove Any Obstacles:
- Take out any detachable components like vents, knobs, or trim pieces that may obstruct the wrapping process.
4. Mask Off Edges and Gaps:
- Use masking tape to cover edges, corners, and gaps to ensure clean lines and protect areas that won't be wrapped.
5. Smooth Out Imperfections:
- If there are any rough spots or imperfections, consider using a heat gun to gently heat the surface and then smooth it out with a microfiber cloth.
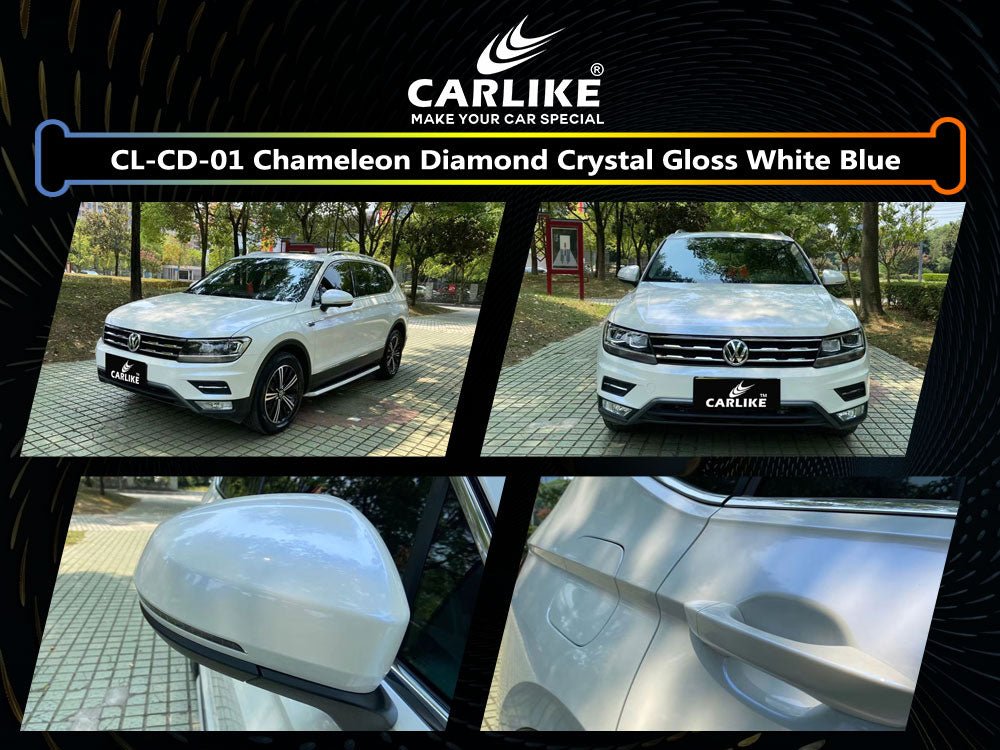
Step 2: Choosing the Right Vinyl
Selecting the appropriate vinyl material is crucial for a successful wrap. Consider the following factors:
1. Material Type:
- Decide on the type of vinyl material you want for the interior. Options include carbon fiber, leather, matte, gloss, and more.
2. Texture and Finish:
- Choose a texture and finish that complements the car's overall style and your personal preferences.
3. Durability and Thickness:
- Opt for a vinyl that is durable and thick enough to withstand daily use and potential wear and tear.
4. Color and Design:
- Select a color or design that enhances the interior's aesthetics and matches or complements the car's exterior.

Step 3: Application Techniques and Tips
Once you have your chosen vinyl material, it's time to apply it to the car's interior surfaces. Follow these techniques and tips for a successful application:
1. Start with Small Areas:
- Begin with smaller, less complex areas like trim pieces or panels to get a feel for the process.
2. Use the Right Tools:
- Use a squeegee to smooth out the vinyl and remove air bubbles. A heat gun can also be helpful for molding the vinyl around curves and edges.
3. Apply Even Pressure:
- Apply even pressure with the squeegee to ensure the vinyl adheres properly and smoothly to the surface.
4. Stretch Carefully:
- If needed, gently stretch the vinyl to fit curves and contours, but be cautious not to overstretch, as it can lead to wrinkles or bubbles.
5. Trim Excess Material:
- Use a sharp utility knife or precision cutting tool to trim away excess vinyl, ensuring clean edges and a professional finish.
6. Inspect for Air Bubbles or Wrinkles:
- After applying the vinyl, carefully inspect the surface for any air bubbles or wrinkles. Use the squeegee or heat gun to fix any issues.
7. Reassemble Components:
- Once the wrapping is complete, reattach any components you removed earlier, such as vents or trim pieces.
By following these steps and techniques, you'll be able to achieve a professional-looking vinyl wrap for your car's interior. Remember to take your time, be patient, and practice on smaller areas before tackling larger, more complex sections.
FAQ for vinyl wrap for car interior?
Q: Can I install a vinyl wrap on my car interior myself?
A: Yes, it's possible to install a vinyl wrap on your car interior yourself. However, it requires patience, attention to detail, and some skill in working with vinyl. Consider practicing on smaller, less visible areas before attempting larger sections.
Q: What types of vinyl materials are commonly used for car interiors?
A: Common types of vinyl materials for car interiors include carbon fiber, leather, matte, gloss, satin, and metallic finishes. Each type offers different textures and aesthetics.
Q: How do I choose the right vinyl material for my car interior?
A: Consider factors such as the desired texture, finish, color, and overall style of your car's interior. Additionally, think about the level of durability you need, especially if the interior is subjected to heavy use.
Q: Can I remove a vinyl wrap from my car's interior later if I change my mind?
A: Yes, vinyl wraps can typically be removed without damaging the underlying surfaces. However, it's important to follow proper removal techniques to avoid any potential damage.
Q: How do I maintain a vinyl-wrapped car interior?
A: To maintain a vinyl-wrapped interior, use mild cleaning solutions and avoid abrasive materials. Regularly clean the surfaces with a gentle cleanser and a microfiber cloth. Avoid harsh chemicals or abrasive scrubbing, as they can damage the vinyl.
Final Words
In conclusion, exploring the world of vinyl wrapping opens up a realm of possibilities for reinventing the interior of your car. Whether you're seeking a sleek, modern finish or a bold, textured statement, vinyl wraps offer a versatile and cost-effective solution. Remember to choose the right material that aligns with your style and preferences, and take your time with the application process. With a bit of patience and attention to detail, you can achieve a stunning transformation that breathes new life into your car's interior. So, get ready to turn heads and enjoy the refreshed ambiance of your vehicle's cabin - the journey of vinyl wrapping awaits!


