CARLIKE-Make Your Car Special.

ABOUT CARLIKE
CARLIKE® launched in 2012, mainly focus on premium car wrapping vinyls, with rich colors and stylish designs. High performance with economic price is always the persuit of CARLIKE®.
CARLIKE-Make Your Car Special.
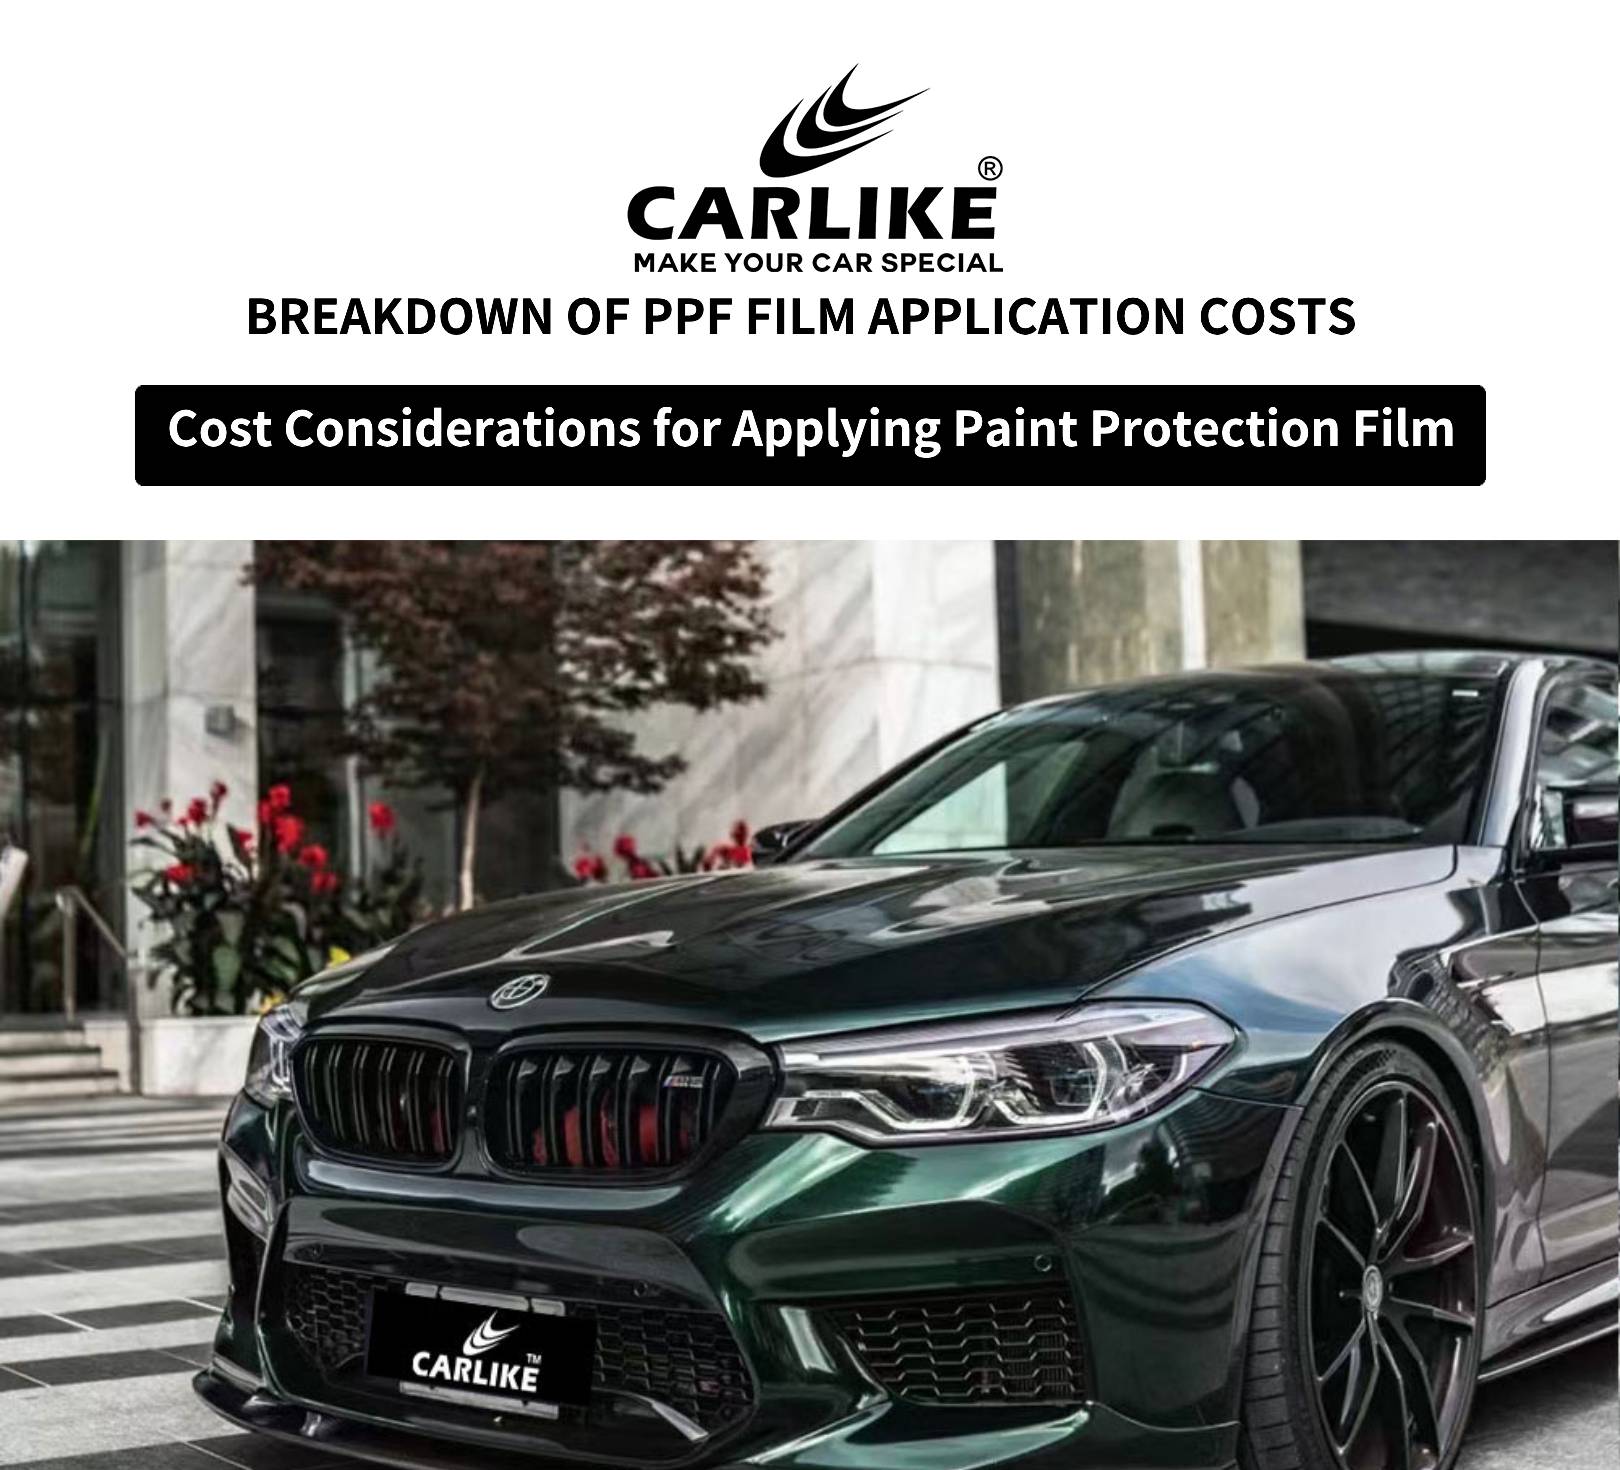
Introduction to PPF Film
Paint Protection Film (PPF) is a transparent, durable film applied to a vehicle’s exterior to protect the paint from damage. It is typically made from thermoplastic urethane and is designed to shield the car's surface from various environmental and physical impacts. PPF is commonly applied to high-impact areas like the hood, bumper, side mirrors, and fenders.
Benefits of PPF for Car Owners:
Protection from Scratches and Chips : PPF acts as a physical barrier, preventing minor scratches, stone chips, and road debris from damaging the paint.
UV Protection : It blocks harmful UV rays, reducing the chances of the paint fading or discoloring over time, especially in sun-exposed areas.
Chemical Resistance : PPF offers protection from harmful chemicals, such as bird droppings, tree sap, and acidic contaminants, which can cause corrosion or staining.
Self-Healing Properties : Some PPF films have self-healing capabilities, where minor scratches can disappear when exposed to heat, restoring the film to its original appearance.
Maintains Car Resale Value : By preserving the original paint in pristine condition, PPF helps retain a vehicle’s resale value, as the exterior will look newer for longer.
Gloss and Shine Enhancement : High-quality PPF adds a glossy finish to the vehicle, enhancing its appearance and making it look freshly polished.
Easy Maintenance : The film makes cleaning easier, as dirt and grime don’t stick as easily to the protected surface, allowing for simpler and less frequent washes.
Weather Protection : PPF guards against harsh weather elements such as rain, snow, or extreme heat, which can wear down a vehicle’s paint over time.

Tools and Materials Needed for PPF Installation
Squeegee : Used to apply pressure and remove bubbles during installation. Different sizes and types (soft and hard) are available for various parts of the car.
Spray Bottle : Filled with a slip solution (usually a mix of water and a few drops of baby shampoo or soap) to keep the film and surface wet during application, allowing for easy repositioning.
Cutting Tools : Sharp utility knives, precision blades, or plotters are essential for trimming the film to fit the vehicle's panels accurately.
Microfiber Cloths : Used to clean the vehicle’s surface before applying the film and to dry off any excess solution after installation.
Heat Gun : Helps soften the film for easier stretching and application over curved surfaces and to activate the self-healing properties.
Lint-Free Towels : To wipe down surfaces without leaving any particles or fibers that could get trapped under the film.
Application Gel or Solution : Besides water-soap mixtures, specialized PPF application solutions are available for better adhesion and installation control.
Alcohol Solution : To clean and prep the surface by removing any remaining grease, wax, or contaminants before applying the film.
PPF Film Options and Selecting the Right One for Your Vehicle
-
Standard Urethane PPF :
- Offers basic protection against scratches, chips, and UV damage.
- Typically clear and provides a high-gloss finish.
- Ideal for those looking for good value and protection without specialized features.
-
Self-Healing PPF :
- Has an additional top layer that heals minor scratches when exposed to heat or sunlight.
- Perfect for owners who want a “like-new” appearance for longer.
- A premium option for high-end vehicles or those frequently exposed to harsh environments.
-
Matte PPF :
- Adds a matte finish to your vehicle, providing a unique aesthetic.
- Suitable for cars that already have matte paint or for owners who want a distinct look.
- Offers the same protective benefits as standard PPF but with a different appearance.
-
Hydrophobic PPF :
- Repels water and other contaminants, making the vehicle easier to clean.
- Provides additional protection from rain, mud, and grime.
- Ideal for vehicles driven frequently in rainy or muddy conditions.
-
Colored or Tinted PPF :
- Available in various shades or tints, offering both protection and a customized look.
- Can be used to add subtle design elements while protecting the paint.
Selecting the Right PPF for Your Vehicle:
Vehicle Usage : For daily drivers, standard or self-healing PPF is usually sufficient. For vehicles used in harsh conditions or for high-end cars, premium options like hydrophobic or self-healing films are recommended.
Aesthetic Preferences : Choose between glossy, matte, or colored finishes depending on your style. Matte PPF is great for a unique look, while clear options preserve the original paint's appearance.
Budget : Higher-end PPF options, such as self-healing and hydrophobic films, come at a premium cost but offer additional long-term benefits. For those with tighter budgets, standard PPF still provides excellent protection.
Installation Difficulty : If you plan to do a DIY installation, choose films that are easier to apply, like standard urethane PPF. Professional installation may be required for more complex films such as hydrophobic or self-healing options.

Step-by-Step PPF Installation Process
1. Preparing the Vehicle
- Clean the Surface : Thoroughly wash and dry the vehicle to remove any dirt, wax, or debris. Use an alcohol solution to prep the surface.
- Work in a Controlled Environment : Ideally, perform the installation in a clean, dust-free area with moderate temperatures to prevent issues with adhesion.
2. Measuring and Cutting the PPF Film
- Measure the Area : Use a measuring tape to determine the dimensions of the area you want to cover.
- Cut the Film : Lay out the PPF film on a clean, flat surface. Use a sharp utility knife or a plotter to cut the film to the appropriate size, leaving a little excess to trim after application.
- Create Templates (Optional) : For complex shapes, consider using paper templates to ensure precise cuts.
3. Applying the Film
Wet Installation Method :
- Prepare the Slip Solution : Mix water with a few drops of baby shampoo or a specialized application solution in a spray bottle.
- Spray the Surface : Generously spray the area of the vehicle and the adhesive side of the PPF film with the slip solution to allow for easy positioning.
- Position the Film : Carefully place the film onto the wet surface. The solution allows you to reposition it without sticking immediately.
- Squeegee Out Water : Starting from the center and moving outward, use a squeegee to push out the slip solution and any trapped air bubbles.
Dry Installation Method (less common):
- Peel and Place : Remove the backing from the PPF film and place it directly onto the surface without using a slip solution.
- Squeegee Immediately : Press down firmly with the squeegee to ensure adhesion, working outwards from the center.
4. Smoothing Out Bubbles and Wrinkles
- Use the Squeegee : As you apply the film, use the squeegee to gently push out bubbles and wrinkles. Start from the center and move toward the edges to promote even adhesion.
- Heat Gun (if needed) : If you encounter stubborn bubbles, lightly heat the area with a heat gun to soften the film, making it easier to smooth out. Be cautious not to overheat and damage the film.
5. Finishing Edges and Corners
- Trim Excess Film : Once the film is applied and smoothed out, use a utility knife to carefully trim any excess material along the edges and corners for a clean finish.
- Secure Edges : Use the squeegee to press down the edges firmly to ensure a secure bond. If needed, apply heat to the edges to improve adhesion.
- Final Inspection : Check for any remaining bubbles or imperfections, and address them as necessary.
6. Curing
- Allow to Set : Let the film cure for at least 24 hours without washing or exposing it to harsh conditions to ensure proper adhesion. Follow the manufacturer’s guidelines for curing time.