Benefits of Glitter Vinyl Wraps
Glitter vinyl wraps offer a range of benefits that make them a popular choice for vehicle customization. Here are some key advantages:
1. Eye-Catching Aesthetics: Glitter vinyl wraps add a unique and eye-catching sparkle to your vehicle, making it stand out from the crowd.
2. Customization Possibilities: With a wide variety of colors and styles available, glitter vinyl wraps offer endless opportunities for personalization and creativity.
3. Cost-Effective Alternative to Paint: Applying a glitter vinyl wrap is often more affordable than a custom paint job, providing a cost-effective way to achieve a stunning look for your vehicle.
4. Protects the Original Paint: The vinyl wrap acts as a protective layer for the original paint of the vehicle, shielding it from minor scratches, rock chips, and other surface damage.
5. Easy to Replace or Remove: If you decide to change the look of your vehicle or revert to the original paint, glitter vinyl wraps can be easily removed without causing damage to the underlying paint.
6. Resistant to Environmental Factors: Glitter vinyl wraps are designed to withstand exposure to the elements, including UV rays, rain, and pollutants, helping to maintain their vibrant appearance over time.
7. Quick Installation: Compared to a custom paint job, applying a glitter vinyl wrap is a faster process, meaning less downtime for your vehicle.
8. Preserves Resale Value: By protecting the original paint and allowing for easy removal, glitter vinyl wraps can help maintain the resale value of the vehicle.
9. Reduced Maintenance: Unlike custom paint, which may require specialized care, glitter vinyl wraps can be cleaned with regular car wash products, making maintenance hassle-free.
10. Non-Permanent Option: Unlike a permanent paint job, a glitter vinyl wrap allows you to change the look of your vehicle without a long-term commitment.


Customization Options with Glitter Car Wraps
When it comes to customizing your vehicle with glitter car wraps, there are several creative options to consider. Here are some ideas on how to create a unique look for your vehicle:
1. Color Combinations:
- Experiment with different color combinations of glitter wraps. For example, mixing gold and black for an elegant contrast or silver and blue for a vibrant look.
2. Gradient Effects:
- Create a stunning visual impact by using a glitter wrap with gradient effects, transitioning from one color to another.
3. Patterns and Designs:
- Incorporate patterns like chevrons, stripes, or custom designs to add depth and personality to your vehicle.
4. Texture Contrast:
- Combine a glitter vinyl wrap with a matte or satin finish in specific areas to create an interesting tactile contrast.
5. Two-Tone Finishes:
- Apply glitter wrap to certain sections of your vehicle while leaving other areas in a different finish, like matte or gloss.
6. Decals and Graphics:
- Add custom decals, graphics, or logos to enhance the overall visual appeal.
7. Fading Effects:
- Create a unique look by gradually fading the glitter wrap from one color to another, or from glitter to a solid finish.
8. Contrasting Accents:
- Use glitter vinyl as accents, such as on the side mirrors, door handles, or other specific details, to draw attention to those areas.
9. Embossed or Textured Elements:
- Consider adding embossed or textured elements to your glitter wrap to create a truly one-of-a-kind look.
10. Custom Artwork or Murals:
- Collaborate with an artist to design and apply custom artwork or murals that reflect your personal style or interests.
11. Layering and Overlays:
- Combine different layers of glitter vinyl to create a multi-dimensional effect, or overlay other finishes for a unique texture.
12. Reflective Elements:
- Add reflective accents alongside the glitter for a dynamic look that shines brightly in different lighting conditions.
13. Personalized Branding:
- If you're using the vehicle for business purposes, incorporate your company's logo, colors, and branding elements into the design.
14. Specialty Finishes:
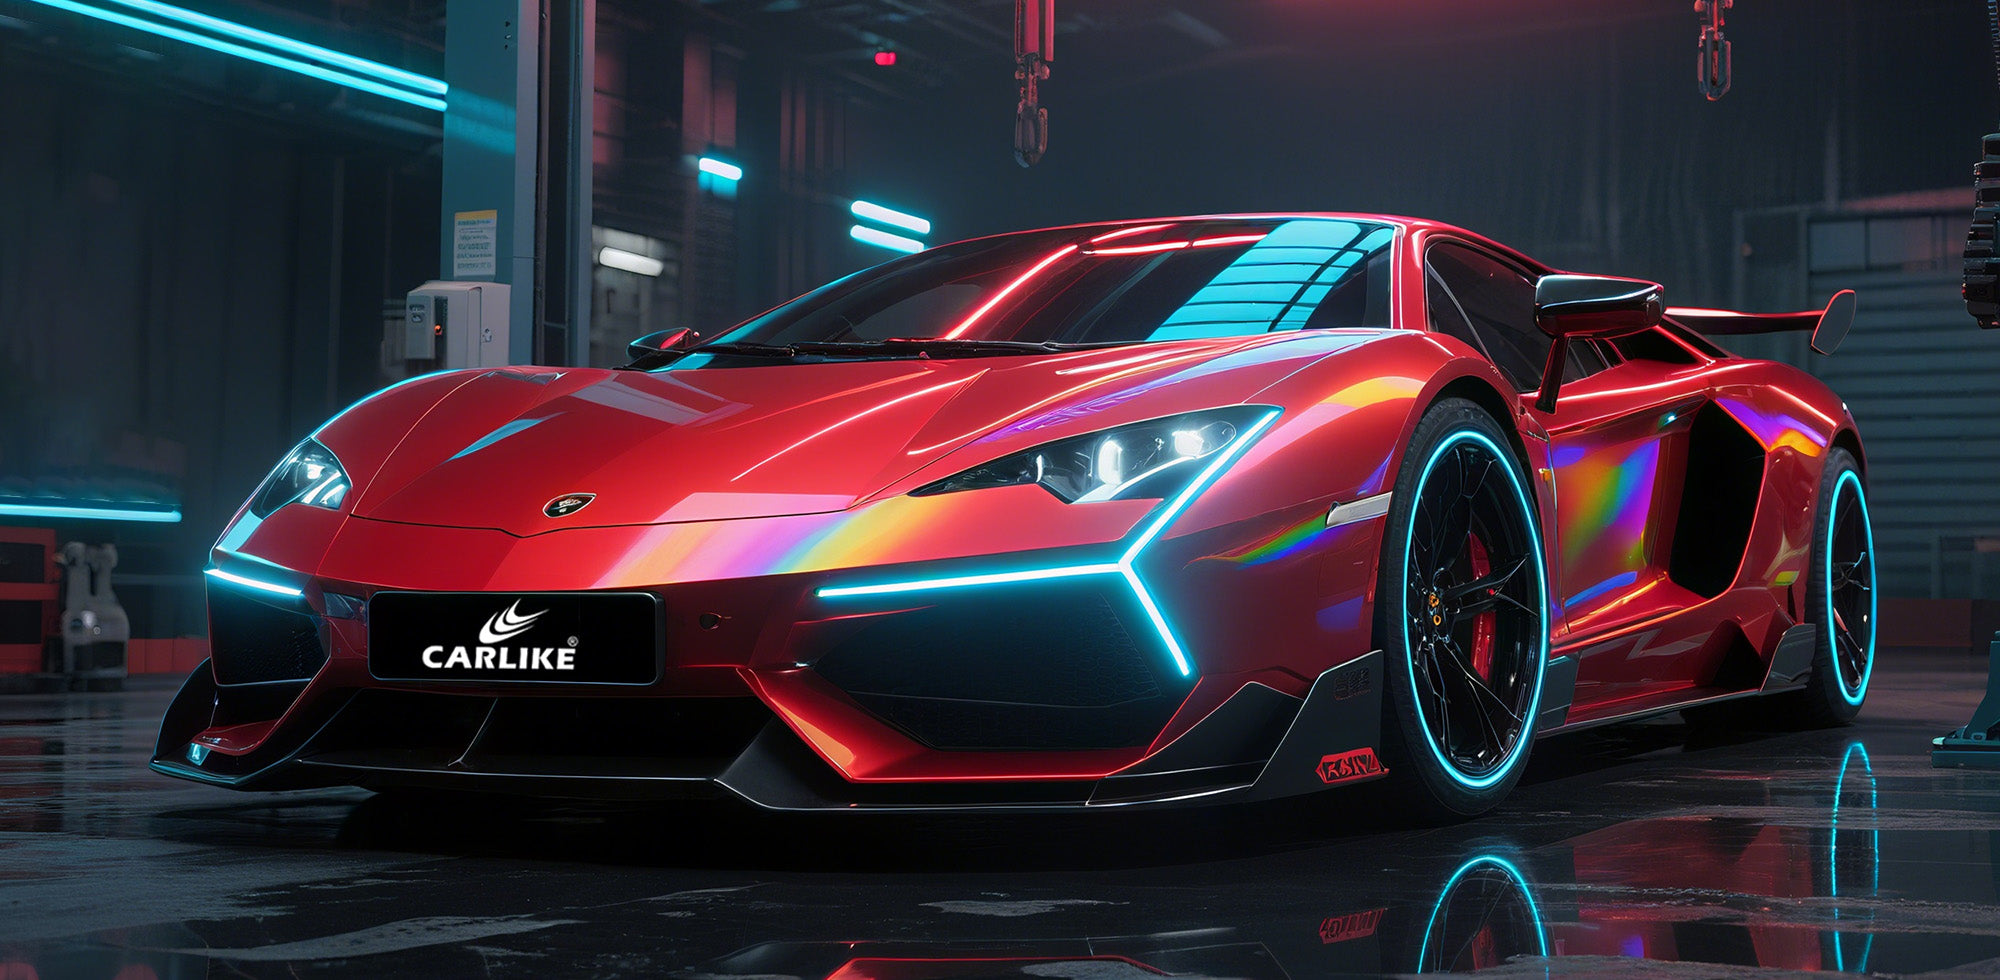
- Consider using specialty glitter finishes like holographic or iridescent for an extra touch of magic.
15. Lighting Effects:
- Integrate LED or neon lighting elements that complement the glitter wrap, creating an eye-catching display both day and night.
Remember to consult with a professional installer or designer who is experienced with vinyl wraps to ensure that your customization ideas can be executed effectively. This will help you achieve the unique look you envision for your vehicle.
The Process: Applying Glitter Car Wrap Vinyl
Here's a step-by-step guide for applying glitter car wrap vinyl:
Step 1: Gather Your Materials
Before you start, make sure you have all the necessary tools and materials:
- Glitter car wrap vinyl
- Squeegee or application tool
- Heat gun or hair dryer
- Sharp utility knife or cutting tool
- Cleaning supplies (rubbing alcohol, lint-free cloth)
- Measuring tape or ruler
Step 2: Prepare the Surface
Ensure that the surface of your vehicle is clean and free from dirt, dust, and any residue. Use rubbing alcohol and a lint-free cloth to thoroughly clean the area where you'll be applying the wrap.
Step 3: Measure and Cut the Vinyl
Measure the area you're wrapping and cut the glitter vinyl wrap to size, leaving some extra material around the edges for adjustment. It's better to have more than you need than to come up short.
Step 4: Peel and Position
Peel off a small portion of the backing from the vinyl and gently position it on the surface. Start from one end and work your way across, gradually peeling the backing as you go.
Step 5: Smooth and Apply Pressure
Using a squeegee or application tool, start from the center and work outward, smoothing the vinyl as you go. Apply even pressure to ensure the vinyl adheres properly to the surface.
Step 6: Stretch and Conform
For contours and curves, use a heat gun or hair dryer to gently warm the vinyl. This will make it more pliable, allowing you to stretch and conform it to the shape of the vehicle.
Step 7: Trim Excess Vinyl
Carefully use a sharp utility knife or cutting tool to trim away any excess vinyl along the edges. Take your time and make precise cuts for a clean finish.
Step 8: Seal Edges and Seams
If there are seams or edges that need extra reinforcement, use the heat gun to warm the vinyl slightly and then press down firmly with the squeegee to ensure a secure bond.
Step 9: Final Inspection
Once you've applied the wrap, step back and inspect the surface for any bubbles, wrinkles, or imperfections. Smooth out any issues using the squeegee and heat gun as needed.
Step 10: Post-Application Care
Avoid washing your vehicle for at least 24-48 hours after applying the vinyl to allow it to fully adhere. When you do wash it, use a gentle soap and avoid high-pressure washes.
Remember, practice makes perfect. If this is your first time applying a vinyl wrap, it's a good idea to start with a small, less visible area to get the hang of it before tackling larger sections. Take your time, be patient, and follow these steps for a successful application.
FAQ for glitter car wrap vinyl?
Q: How is glitter car wrap vinyl different from regular vinyl wrap?
A: Glitter car wrap vinyl differs from regular vinyl wrap in that it has a unique glitter finish, adding a sparkling effect to the vehicle's surface. Regular vinyl wrap, on the other hand, usually has a smooth or textured finish without the glittery appearance.
Q: What are the benefits of using glitter car wrap vinyl?
A: Some benefits of using glitter car wrap vinyl include its ability to add a distinctive, eye-catching look to your vehicle, its versatility in terms of design and color options, and its temporary nature, allowing for easy removal or replacement.
Q: Can I wash my vehicle after applying a glitter car wrap?
A: Yes, you can wash your vehicle after applying a glitter car wrap. It's recommended to wait at least 24-48 hours after application to allow the wrap to fully adhere. Use a gentle car wash soap and avoid high-pressure washes.
Q: Is it possible to remove a glitter car wrap once it's applied?
A: Yes, glitter car wrap vinyl is designed to be removable. It can be taken off without causing damage to the underlying paint. However, it's important to follow proper removal techniques to avoid any potential issues.
Q: Can I apply a glitter car wrap myself, or do I need a professional installer?
A: While it's possible to apply a glitter car wrap yourself, it can be a complex process that requires skill and experience. Many people choose to hire a professional installer to ensure a high-quality and seamless application.
Final Words
In the world of automotive customization, glitter car wrap vinyl stands as a beacon of brilliance, offering a dazzling transformation for any vehicle. Its sparkling allure and versatility allow for boundless creative expression, turning ordinary cars into extraordinary showpieces. Whether you're seeking to make a bold statement or simply craving a touch of individuality, glitter vinyl wrap promises to deliver. Remember, the journey to a radiant ride begins with careful application and proper maintenance. Embrace the magic of glitter car wrap vinyl, and let your vehicle shine like never before. Elevate your drive and leave a trail of sparkle wherever you go!


